Showing posts with label IndigoBlu Rubber Stamps. Show all posts

Monday, 15 April 2019

A little Mid Century Modern Card Making.


Hello there, so quite a few things have been happening over the last month which has kept me busy and I haven't had time to do any blogging so without further ado here is a quick tutorial for a card I created for the IndigoBlu show on 11th April on Hochanda.
Mike Deakin designed these stamp sets and I have to say that once I started using them I kept coming up with more and more ideas. 
If you would like to watch the shows yourself you should be able to watch them online for the next week. 11am Show & 3pm Show

I have called this my Delta Card 


Materials used
Mid Mod 1 & 2 Stamp Set
Matt Paints - Rouge, Grandma’s Teacup, Apricot Blush
FlitterGlu & Chariots of Fire Mega Flake, Scoochie
Phat Foam
Thin Tip Black Pen
White Stamping card, Black Card, Card Base
Post it notes, Ruler, Black Ink Pad
Method
-For the front panel I cut out a 5” x 8” piece of white card
TIP-I stamped out the main shape from MM1 (the Delta or Arrowhead onto a stack of three post it notes), and cut them out so that I could make a rough template of where I wanted to place them. (This also helps when you are not sure what size panel of card you need).

-Make up a paint pad of each paint colour with a small piece of Phat Foam and spread a small amount of paint into the foam. Using one colour at a time, stamp out the Delta shape, one colour under the other leaving a small space between cleaning off the paint between colours. (Clean your stamp well, after you finish)!
-When the shapes are dry, use your ruler and black pen to draw a line to connect them all together. Draw a large dot on each end of the line.
-Using the MM2 stamp set, take the smaller circle and a black ink pad and stamp once over each of the coloured shapes.
-Going back to the MM1 set choose a sentiment and use a post it note to mask off a couple of the lines to enable you to stamp one line at a time onto sections of your card front.
- Now make up a glue pad with the Flitterglu, just as you did with paint and stamp out some of the smaller Atomic Starburst shape. Leave these to become really tacky (no sigh of white glue) then cover the images with the Mega Flakes. Rub the flake into the images and rub away excess flake. Take the Scoochie and rub over the flaked images to define the shapes. 

Put any spare flakes back into the pot.
-Round the corners of the decorated panel then Mat onto black card and a card blank rounding these corner as well.
Eveything you need to create this card can be found on the IndigoBlu Website.

If you have any questions or help, please let me know. 

Happy Crafting, Sue  xx

Tuesday, 24 April 2018

IndigoBlu in Bloom

Hello to you and thanks for stopping by. You may have seen that Kay Halliwell-sutton from IndigoBlu was on Hochanda today show casing her beautiful floral stamps and the fluttering birds, bees and dragonflies. If you didnt get to see her live shows then check them out on Hochanda.com. First show was at 10am with Leonie Pujol and the 2pm show with  Matt Macnamara. (These links are only good for two weeks).
Being on the TV sample making team for IndigoBlu im lucky enough to have these stamps sent to me to experiment with and I have had so much fun creating different things from cards to mixed media pieces.
Here are the samples I create for these show's, lots of fussy cutting and I also put some of my paint pours to good use.
This card was made using the 'Spring Meadow' stamp at the top of the card with a few extra butterflies cut out from the 'Nature III', sitting on one of the word plates from the stamp set 'Happiness'. The colours used on the card were from the Luscious Powder range.
I wanted to keep this card simple to show off the beautiful Orchids so stamped in black ink and used clear embossing powder to create a resist when I coloured the blooms in with Pink Luscious. Once dry I fussy cut the image, cut out some slender leaves and set everything into a little wooden flowerpot painted with the porcelain Luscious powder.

For this sample I wanted to use the Orchids again to decorate the shoes I cut out using a Sizzix die as I thought it went well with a sentiment from the 'Meadow Flowers' stamp set. 'Stroll through a meadow, breathing in the sunshine & believe in miracles'
The wooden base was painted with Black Gee-Soo-good and a layer of the IndigoBlu Watercolour card was stamped on with the flowers and herbs from the same 'Meadow Flowers' stamp set.
The shoes were kept simple, as well as the stamped images all finished off with little touches of Bisque Liquid Pearls.
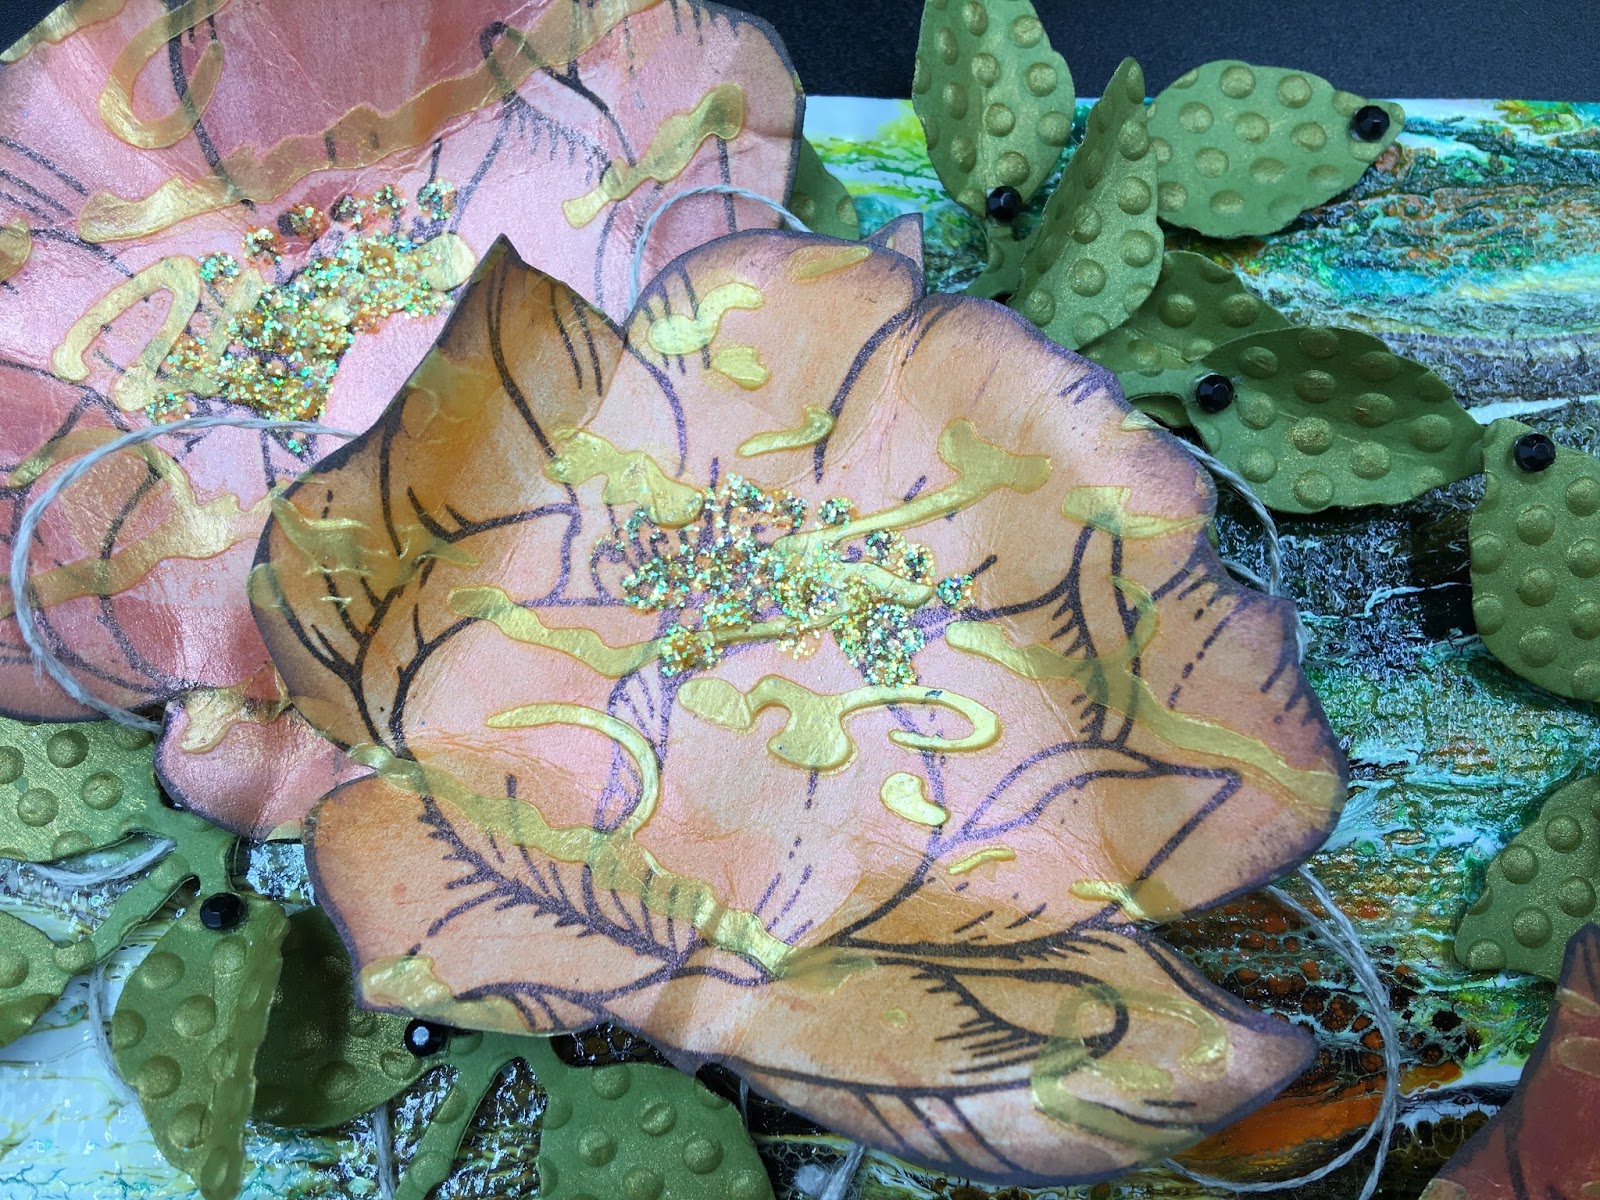
I love the colours that came out on the Paint Pour I used for the background to these beautiful flowers from the stamp set 'Peony' and I used Coral and Orange Luscious Powders to give these flowers a lovely shine. 
The orange was also mixed into some super slap it on which I put through the 'Scrip' stencil over the flowers to add a little texture, then cut and dry embossed so leaves and added linen thread under the flowers.
Now I really love this New Humming Bird Stencil by IndigoBlu and hope that Kay follows it up with a Hummingbird stamp. (I'm sure you will know why I love this so much)! I used this stencil in a slightly different way as I drew around the hummingbird lines. I then used a Tombow Glue Pen to add patterns. Once the glue was dry I used Tombow Brush Pens and Blender pen to add colour to the differnt sections of the bird over the glue which acted as a resist so you get a interesting patterns emerging.
I then masked off the Humminbird and using a wet wipe put some blue Gelatos through the IndigoBlu Dottie stencil and finished the card off with some green pearl dots. The sentiment was stamped and black embossed onto vellum.
For this piece I used another of my paint pour mini canvases and picked out the blue in it by painting Rice Paper with Blue Luscious, stamping about 10 of the 'Peony' heads in Stazon blue ink onto the rice paper and cutting each flower out and layering them up to create a dimensional flower.
I added the sentiment 'You are Bloomin Marvelous' from the stamp set 'Meadow Flowers'


This next piece I created was using a base from a toy that rocks and I thought it might be fun to add the 'Butterfly#2' and the 'Giant Dragonfly' on wires to make them look as if they were fluttering and hovering above the flowers. Unfortunatly the camera didnt like the shine that was coming of the painted pieces as I used the Luscious Powders again so it hasn't captured all the detail that are in the stamped images.

I stamped, coloured and cut out the Peony and leaf images from the 'Marigold and Peony' stamp set and added them around the sides and the top of the rocking base, filling the top with some paper flowers from my stash.  
The Giant Dragonflies had some silver glitter added to their wings and different coloured gems were added to the bodies.

I wanted to use my Tombow Brush pens again so I stamped out the beautiful floral collage from the stamp set 'Nature III' and enjoyed colouring it in so much decided to stamp and colour in more images and turned them into a Stepper Box Card.
Each draw was decorated with parts of the images I coloured as well as single images inside each box base.

Hope you have enjoyed taking a look and some of these samples inspire you. 
If you would like to see some more of these fantastic stamps then please check out Julie Atkinson's blog. 
Be ready to be amazed!
Happy Crafting,
Sue xx