Showing posts with label IndigoBlu Luscious Powders. Show all posts

Tuesday, 24 April 2018

IndigoBlu in Bloom

Hello to you and thanks for stopping by. You may have seen that Kay Halliwell-sutton from IndigoBlu was on Hochanda today show casing her beautiful floral stamps and the fluttering birds, bees and dragonflies. If you didnt get to see her live shows then check them out on Hochanda.com. First show was at 10am with Leonie Pujol and the 2pm show with  Matt Macnamara. (These links are only good for two weeks).
Being on the TV sample making team for IndigoBlu im lucky enough to have these stamps sent to me to experiment with and I have had so much fun creating different things from cards to mixed media pieces.
Here are the samples I create for these show's, lots of fussy cutting and I also put some of my paint pours to good use.
This card was made using the 'Spring Meadow' stamp at the top of the card with a few extra butterflies cut out from the 'Nature III', sitting on one of the word plates from the stamp set 'Happiness'. The colours used on the card were from the Luscious Powder range.
I wanted to keep this card simple to show off the beautiful Orchids so stamped in black ink and used clear embossing powder to create a resist when I coloured the blooms in with Pink Luscious. Once dry I fussy cut the image, cut out some slender leaves and set everything into a little wooden flowerpot painted with the porcelain Luscious powder.

For this sample I wanted to use the Orchids again to decorate the shoes I cut out using a Sizzix die as I thought it went well with a sentiment from the 'Meadow Flowers' stamp set. 'Stroll through a meadow, breathing in the sunshine & believe in miracles'
The wooden base was painted with Black Gee-Soo-good and a layer of the IndigoBlu Watercolour card was stamped on with the flowers and herbs from the same 'Meadow Flowers' stamp set.
The shoes were kept simple, as well as the stamped images all finished off with little touches of Bisque Liquid Pearls.
I love the colours that came out on the Paint Pour I used for the background to these beautiful flowers from the stamp set 'Peony' and I used Coral and Orange Luscious Powders to give these flowers a lovely shine. 
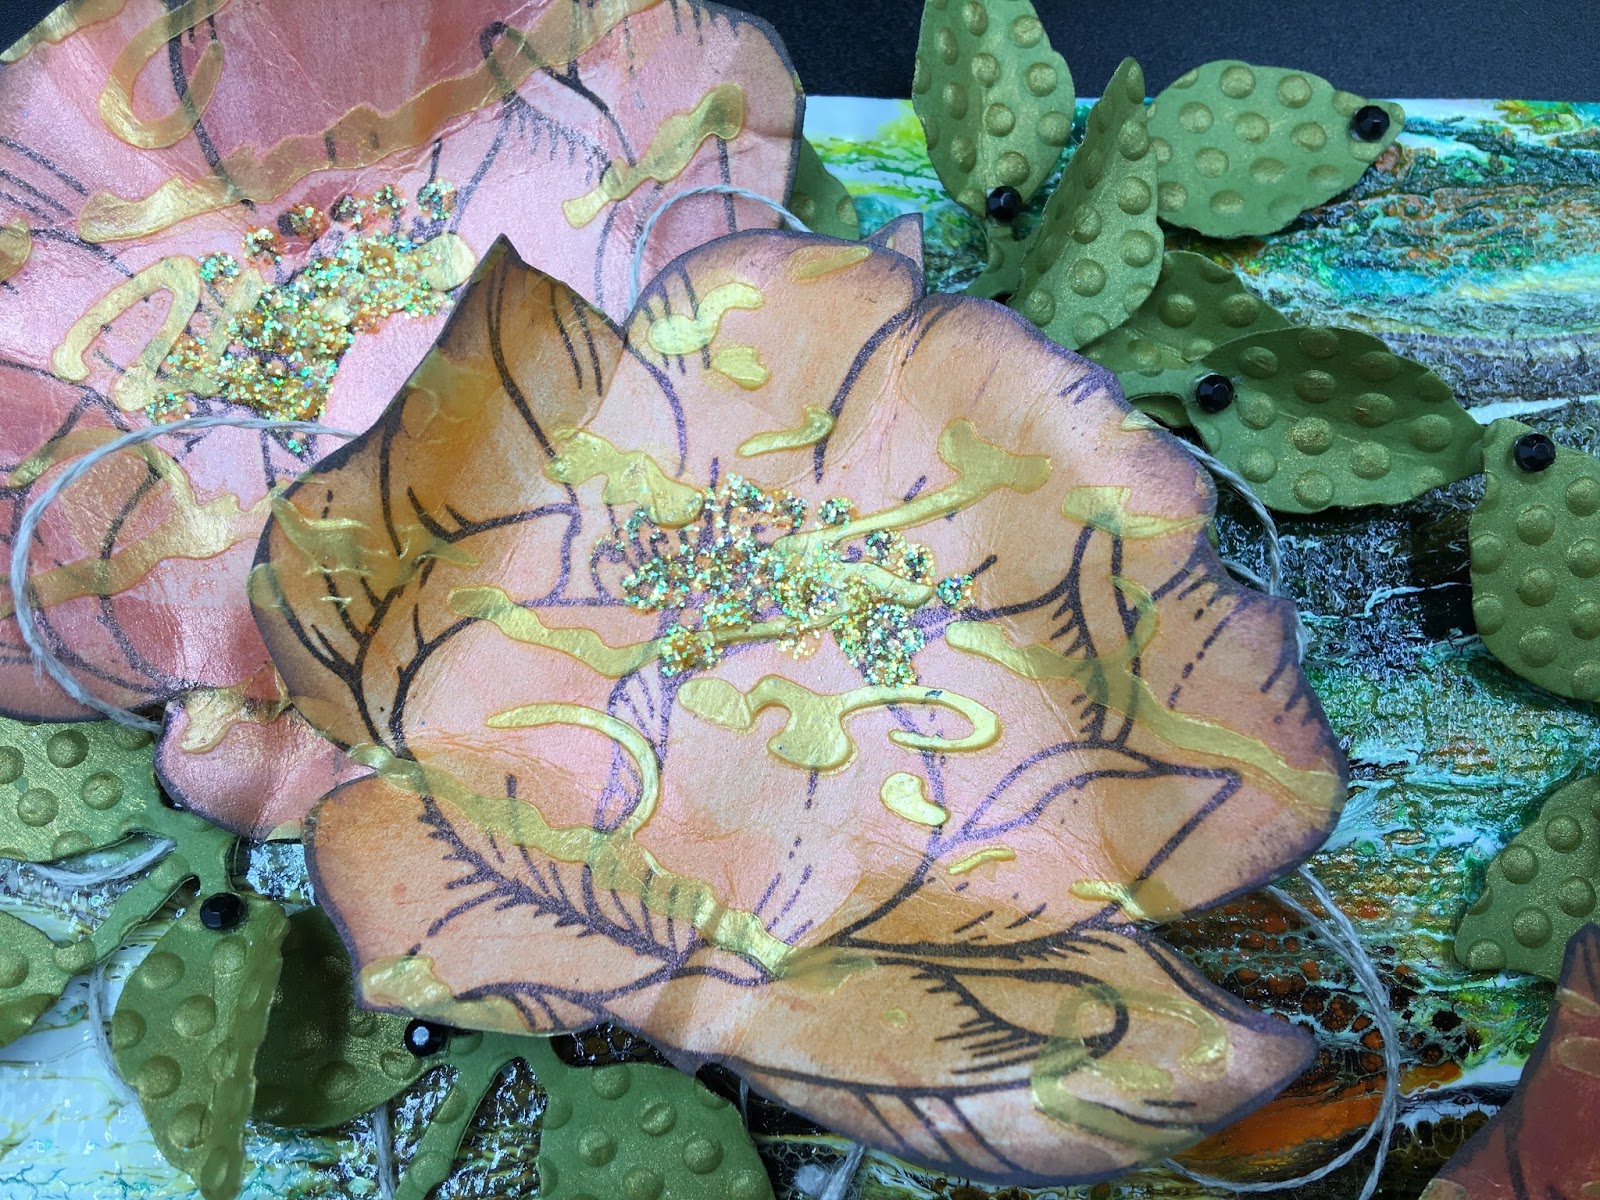
The orange was also mixed into some super slap it on which I put through the 'Scrip' stencil over the flowers to add a little texture, then cut and dry embossed so leaves and added linen thread under the flowers.
Now I really love this New Humming Bird Stencil by IndigoBlu and hope that Kay follows it up with a Hummingbird stamp. (I'm sure you will know why I love this so much)! I used this stencil in a slightly different way as I drew around the hummingbird lines. I then used a Tombow Glue Pen to add patterns. Once the glue was dry I used Tombow Brush Pens and Blender pen to add colour to the differnt sections of the bird over the glue which acted as a resist so you get a interesting patterns emerging.
I then masked off the Humminbird and using a wet wipe put some blue Gelatos through the IndigoBlu Dottie stencil and finished the card off with some green pearl dots. The sentiment was stamped and black embossed onto vellum.
For this piece I used another of my paint pour mini canvases and picked out the blue in it by painting Rice Paper with Blue Luscious, stamping about 10 of the 'Peony' heads in Stazon blue ink onto the rice paper and cutting each flower out and layering them up to create a dimensional flower.
I added the sentiment 'You are Bloomin Marvelous' from the stamp set 'Meadow Flowers'


This next piece I created was using a base from a toy that rocks and I thought it might be fun to add the 'Butterfly#2' and the 'Giant Dragonfly' on wires to make them look as if they were fluttering and hovering above the flowers. Unfortunatly the camera didnt like the shine that was coming of the painted pieces as I used the Luscious Powders again so it hasn't captured all the detail that are in the stamped images.

I stamped, coloured and cut out the Peony and leaf images from the 'Marigold and Peony' stamp set and added them around the sides and the top of the rocking base, filling the top with some paper flowers from my stash.  
The Giant Dragonflies had some silver glitter added to their wings and different coloured gems were added to the bodies.

I wanted to use my Tombow Brush pens again so I stamped out the beautiful floral collage from the stamp set 'Nature III' and enjoyed colouring it in so much decided to stamp and colour in more images and turned them into a Stepper Box Card.
Each draw was decorated with parts of the images I coloured as well as single images inside each box base.

Hope you have enjoyed taking a look and some of these samples inspire you. 
If you would like to see some more of these fantastic stamps then please check out Julie Atkinson's blog. 
Be ready to be amazed!
Happy Crafting,
Sue xx

Wednesday, 1 February 2017

IndigoBlu Blog Challenge, "Love is all you need"!

Hello there,
As you may have seen, the IndigoBlu Blog Challenge has changed its starting date and will now be on the 1st of each month. The Design Team will still be posting their inspirational blog posts and the International Design Team will also be joining in.

The New Challenge is called "Love is all you need", just like the song! Have you got that tune in your head as well now?

This is my inspirational piece for the challenge and I have called it "Love Birds" Guessing you can see why!
Now when I started this piece I had a slightly different idea for the frame, I didn't like it so started over and painted it again so apologies for the first couple of photos as I thought I would still show you as a possible idea for a rust effect frame.


(For the rust effect on the frame I gave it a coat of black Gee-So-Good to prime the wood then mixed up some black gesso and Hot Cocco English Cottage Paint and mixed that in with some Coarse Modelling Paste and spread this on the frame. Once dry I then brushed on some dry Luscious Powders (Teal & Orange) and sprayed the frame with water working in the Luscious Powders. Once that was dry I added a little more powder and a touch of Burning Bonfire paint. But as I said it didn't really go with the rest of my project, it was too dark, so I started over and painted the frame in white Gee-Soo-Good, so you see, there is always a way to change something you are not happy with)!


 I love the texture the Modelling Paste gives to the frame


Once the frame was dry I then dusted over it with the Luscious New colour "Poseidon Blue" and some Teal. Once done I sprayed it all over with water to set the binder thats in the Luscious Powders.


 I wanted to create a reverse image as well from the bird from the "Take Flight" so I stamped the image first on one side of the glass in black Stazon Ink, then flipped the glass over and stamped another image. 
(When painting on glass make sure its really clean before you start and watch out for finger prints. Really important, remember to carefully clean again before putting the glass back in the frame)!

I then painted both birds on the same side of the glass. (If you try this you will find that one of the images is slightly harder to paint as you don't have a black line to paint up to. 


Once the images were painted and if you hold the glass up you can see where you have missed parts so the best thing to do is paint on the back of the images. This give a crisper image on the front of the glass.


 I used a couple of the metallic paints on the birds and its a shame I don't have a better photo to share with you but the natural hasn't been very good and electric light bounces off the glass. 


For the backing of the frame I covered the base with a piece of Teal coloured card stock from the set Damaged Damask, gave it a thin coat of white Gee-Soo-Good and Townhouse Teal paint. Once the paint was dry I used the Damaged Damask Stencil with Super Thick Slap it on mixed with a little Kingfisher Blue paint.


I took another piece of the card stock and stamped it with the Script Background Stamp, tore around the edges and highlighted them with Blue Luscious Powder I mixed with water.
I found some small wooded hearts in my stash, gave them some paint treatment and used them between the base of the frame and the glass.


The added embellishments were a small glass heart I had coloured with Luscious Paint and Mega Flake, Bakers Thread, small crystal clusters and a sentiment from the stamp set "Live, Laugh, Love" I had cut up.
I wanted the birds to look as if they were carrying the heart so used bakers twin as it was finer than the ribbons I had.

I hope I have inspired you to join in and have a go at this months challenge yourself. 
Have fun and Happy Stamping xx


Wednesday, 18 January 2017

Venturing into the relm of Memory Jars

Hello to you,
Today I would like to share with you an idea I have had for a memory Jar. I had read about these a few years ago but never did anything about them until I saw a post on Facebook over Christmas and thought this time I would make my own. Now most people who put these jars together start putting in there memories from the 1st January them open them up on New Years Eve and look back at what they had achieved over the year.


Well I didn't start my jar at the right time for this idea so I thought I would do my own thing and collect together certain things to put into the jar that meant a lot to me in 2016 and would continue into the end of this year 2017 or until I can't fit anything else into the jar.
For me, 2016 was a pretty good year. I went traveling, was invited onto several of the IndigoBlu Design Teams and my children have all done really well, in their careers and personal lives.
The highlight was I went traveling with my husband around New Zealand for six weeks and my Jar depicts this in quite a few ways. I wanted to visit Hobbiton (where Lord of the Rings was partly filmed), hence the doorway on the Jar, also I wanted to show the Fern leaf as its something I have always loved the look of especially the new shoots unfurling, but also as a NZ Government vote was being taken on a possible change of their flag to show the Silver Fern. ( The vote was taken and the Flag remained the same)!


I think its now time to get on and show you some photos of the jar. It started its life off as a mason jar which I first of all painted with white Gee-Soo-Good to form a good base to paint onto.

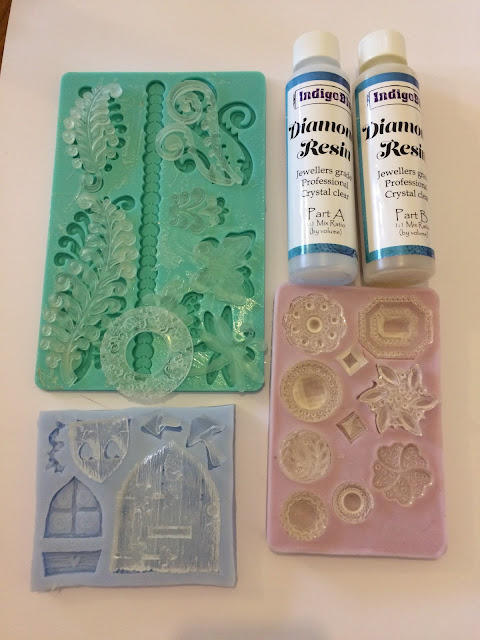
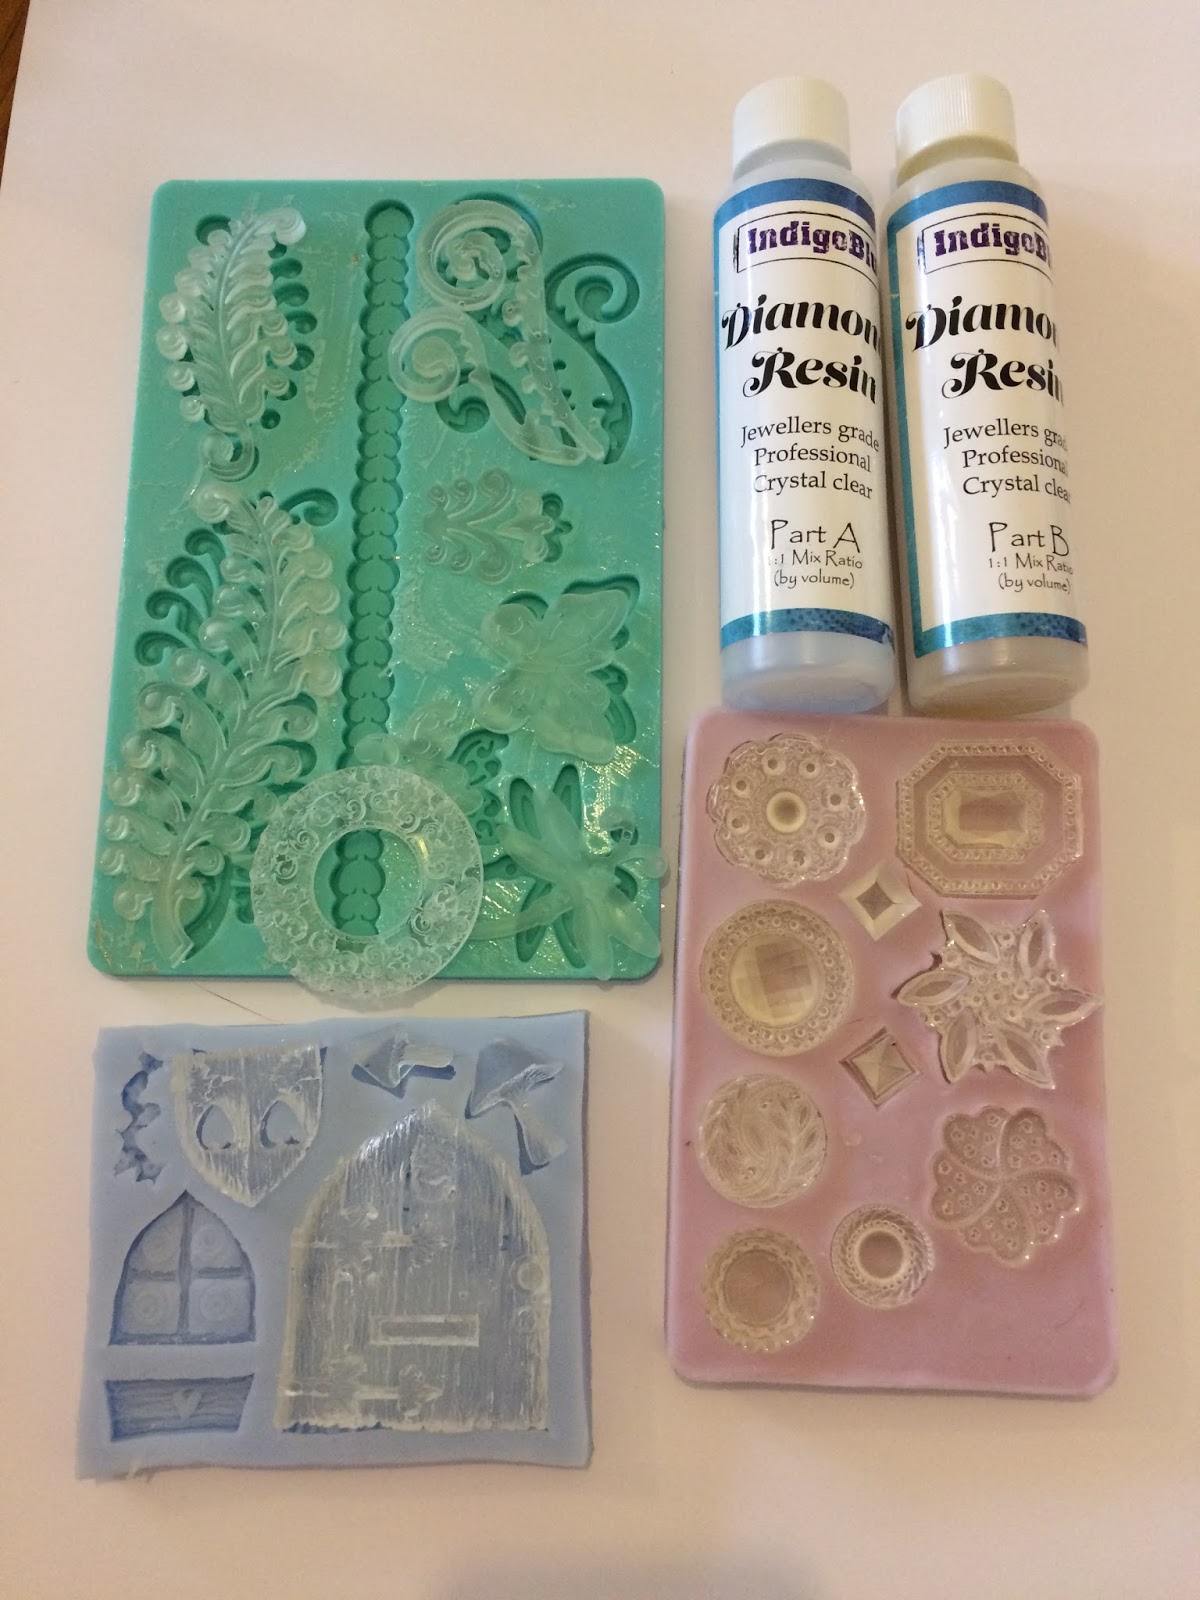
For this project I used the IndigoBlu Diamond resin with moulds as I found that the resin after a day of setting is still slightly flexible and be molded around  a curved surface. (Make sure you use a really good strong bonding glue to attach your piece to the glass otherwise it will straighten out. I used E6000).


Once all the pieces were glued in place I gave everything another coat of white Gee-Soo-Good then a coat of Aladdin Metallic Paint.

Once the paint was dry I then started adding colours to all the different molded parts using Paints and Luscious Powders

For the door I mixed up a thick paint using the Gold Luscious Powders

The details on the door were picked out using paints and Luscious Powders and I added small polystyrene balls to ground to look like s stone path. I also added a few words to the jar using the Believe stencil and embossing paste. Once these were dry I painted them in Aladdin Paint then once dry highlighted them in white and rubbed some silver and gold Luscious powders over the top.

The inside of the Jar was given a paint treatment, this time using Black Gee-Soo-Good and Raven Metallic Paint.

The top of the jar is decorated with a round Resin Frame and in the middle I placed a Resin Gem all painted with Luscious Powders. 

I added a couple of small embellishments to finish off the jar. I decided to add a pen to the jar so there was always one to hand. I took the pen apart and added a piece of paper I painted with Luscious colours to match the jar.
The first three tags I am going to add to the jar are photos taken on our trip to NZ.

I hope you have enjoyed reading about my latest creation, I now have a different idea for one for my daughter who loves to travel. Once I have finished it I will share the idea with you.
So thats all from me today. If you continue scrolling down, there are a few detailed photos of my jar.
Thanks for looking, take care and Happy Crafting xx

Don't forget to check out IndigoBlu's online Shop 


Wednesday, 11 January 2017

Everything is coming up Rosy!

Hello to you and as this is my first blog post going into the New Year,  I would like to wish you and yours a very Happy and Healthy 2017!
My project today is a "Scrapbook in a Tin". 
The idea came about just after Christmas when family had gone their various ways, I decided to pull out my box of moulds for something to do. I find doing this very relaxing, and in a short amount of time I had filled up many of my moulds with Paper Clay and Diamond Resin.

Here a just a few of the Moulds I filled with Paper clay. I do like using this as they are lightweight and easy to colour.

I took this photo just to show you what the tin looked like before I covered it. Just need to do something with the concertina paper inside now.

The first step was to stencil a background on the tin using one of IndigoBlu's stencils called 'Believe'.

Once the paste was dry I gave the tin a coat of White Gee-Soo-Good.


Very carefully I painted around all the flowers and leaves just painting the tin with Cinderella Paint.

Once the paint was dry I mixed up some different colours of the Luscious Pigment Powders, Rose Bronze, Green, Teal Blue, Silver and Porcelain and painted the Roses and leaves then dripped some of the colours top and bottom.
I then used StazOn ink, in Olive Green to highlight the stencil text using my finger.

I felt a sentiment was needed so stamped out one onto white card using the Olive Green Ink from the stamp set 'Butterfly Collector'

Thats all for today, please pop back soon as I am working on a Memory Jar which I will be sharing in the next couple of days.
Take care and Happy Crafting xx