Showing posts with label Card Making. Show all posts

Wednesday, 20 June 2018

IndigoBlu - Besides the Seaside, besides the Sea!


Hello there, today I would like to share with you a card I created with Summer in mind. Whenever I think of summer, my mind goes back to the start of the school summer holiday knowing it wouldn't be long before we had a trip to the 'Sunny Seaside' and even if it rained, we still enjoyed our trip.

So why this card?
Well we have a Brand New Monthly Challenge starting today on the "I Love IndigoBlu" Facebook Page and the Theme is SUMMER.  All you have to do is to Challenge Yourself to create a Summer project using IndigoBlu products, share it on the I Love IndigoBlu FB group and you will be put forward to winning a suprise, prize from IndigoBlu. Even I don't know what you will be sent for winning.
As requested from a lot of our members on FB Julie and I will share a tutorial each on how we made our pieces for the challenge and share with you a couple of techniques using the products we used.

Lets begin!

So I'm going back in time and using one of the Older Stamp sets called 'Skegness'. (This set isn't showing up on line but Kay assured me that if anyone would like to purchase their own set, they can still press one out for you. Just give them a ring or send them a message via their contact us box on line)!
  Well it certainly can be Bracing at Skegness. The last time I went there was in the winter months, everything had been closed up but we still went for a walk along the sea front. I refused point blank to have a paddle, the water was icy cold!

Moving on from memory lane. As the theme is Summer I decided to go with the super Starburst Stencil because to me it looks like sun rays so I pulled out my English Cottage Acrylic paints in Goldfinger, Burning Bonfire, Lemon Meringue and of course Sunshine, along with some sponges to use with the paint for the stencilling.
The first step was to stamp three of the images onto a piece of 6"x6" stamping card then again onto some masking paper (or you can use post it notes). 
I then cut out the masking paper images and placed these over the top of the images on the card. I did this so that I could go over the top of the images to create a background with the stencil and paint and would be able to go back in after taking off the masking paper to colour the images.

Using the sponges I dabbed it into the paint lid then onto my glass mat to work the paint into the sponge. I find doing it this way I don’t overload the sponge causing paint to go under the stencil.
I went around the card in three areas with the first colour, then wiped the stencil off before filling in different areas in the different paint colours.
Once the paint was dry I removed the masking paper and coloured in the images with Postbox Red and Sleeping Beauty paint.


I then pulled out my Stamping press to do the Rhyme and to mask off areas of it to just pick out a couple of words. (Beside the Sea) 

On a spare piece of white card I gave it a thin wash of IndigoBlu paint,  (A wash means diluting the paint with a lot of water) and once dried I stamped out the rhyme. I then cut this up and mounted it onto white card to give it a boarder.
Once the images were painted and dry I went in and highlighted certain parts with a white and gold pen. I then mounted this onto a piece of Red Cardstock slightly bigger than the card front and layered this onto a card blank.
The finished Card.
Now that you have seen my card, why not pop over and check out Julie's vision of the Summer. It really is a beautiful card. Here's a peek and the Link to Julie's Blog, Art and Soul.

I do hope we have given you some inspiration and that you Join in on the I Love IndigoBlu Facebook page challenge. 
Happy Crafting xx
One last Jolly Image and a link to take you stright to the IndigoBlu Web Site


Wednesday, 30 May 2018

IndigoBlu inspiration for Fathers Day Blog Hop!

Hello there and Welcome.  
I'm very excited to share this blog post with you today for two reasons. 
The first is that I'm taking part in a Blog Hop with some of the other fantastic IndigoBlu DT members and secondly Kay and Alfie from  IndigoBlu are offering a huge 20% discount on a range of Stamp Sets the DT have used for their Fathers Day Cards. 
Of course these stamp sets can be used for so much more than just once a year, think of all the different projects you can create with them.

Below are the stamp sets with that huge 20% discount. Just use the Code FD20 on the IndigoBlu website to claim your discount. Vaild up to 17th June 2018.
For my Fathers Day or 'Special Man' card I decided used Drive Hard, (because my Father loved the vintage cars), Fly High and Design Alphabet as unfortunately I don't have the Circus Alphabet.

Step 1. Kraft Card Stock was cut to 12"x8" and scored at either end at 3" to make a Gate Fold Card base.


 I then used the Cogs and Gears stamp from the Fly high set to create a background on the card base
Versafine Sepia ink was then blended over the stamped images

Step 2. The Vintage car from Drive Hard was stamped out onto white card and clear embossed.
 The car was then cut out and and painted using Kingfisher Blue and Pheasant Bronze

Step 3. Chocolate card stock was cut to 4 1/2" x6 1/2" to make the first layer of the card. This was stamped with the Tyre Track stamp set Drive Hard using the Portrait Paint
 I then decided more colour was needed so used the same colours as in the car

  Step 4. I die cut a tag in Kraft card and stamped over it with the cogs and gear stamp then out came the Chocolate Box Meg Flakes to edge all of the card pieces

Step 5. Using the Sepia ink again I stamped out the word 'DAD' onto cream card from the Design Alphabet stamp set. The letters were cut out and mounted using foam pads onto Chocolate card stock which was edged with Kingfisher paint.

 Step 6. Now all the layers were put together. 
The tyre track layer had some copper wire wrapped around it towards the bottom, (you can see this better in a photo below) and then the left half only of this panel was glued onto the card base so that the card still opened. 
The letters were attached to the tag by first wrapping some wire around it then I glued the tag into place over the tyre panel.

Step 7. The car was then attached to the tag using foam pads amd I ran a grey marker around it to create a shadow. 
A piece of cream card was cut out and attached to the inside of the card base ready to write a special message.

This card was fairly easy to do so thought it would be a great way to help children make their own Fathers Day Cards. 
I know some of my crafting friends love to help their Grandchildren make cards and I think this would be a project both adults and children would enjoy doing together.
 These photo's show up some of those little details

  In this photo you can see how the wire was wrapped around the first layer

Many thanks for stopping by to take a look at my Fathers Day card, but before you go,  please hop over to my Teamies Blogs to see what they have been creating and of course, don't forget that Big 20% off deal from IndigoBlu. 

You have until 17th June to claim it using code FD20.

Now for the Hop!
Kay Molyneux- One for the boys!
Carolyn Larkin -Steampunk Fathers Day Card
Linda Simpson - Fathers Day Inspiration
Julie Atkinson - Fathers Day with IndigoBlu
Aitch - Fathers Day Blog Hop
Emma Blake - Fathers Day Card and a Special offer
Until next time
Happy Crafting x


Monday, 13 November 2017

Woodland Fairy House

Hello to you. 
On Saturday my friend and I pack ourselves a lunch, dug out our aprons and took ourselves off to Amelia's Creative Crafts at Studley to take part in a Powertex workshop.


Gill and I didn't know what to expect as we knew very little about Powertex  but we had a great time. 
As soon as we arrived at the shop, Nicky made us feel very welcome and we were able to have a look around the shop and chat to a few people before we started the workshop. Holly, Nicky's daughter, did a brilliant job making everyone a hot drink while Tracy and Nicky finished getting everything ready for us to start.

Once sat down to start, placed in front of us was a Jar, Lace, (which Tracy had spend hours ruffling), Cotton Material, Embellishments, Foil, Masking Tape and of course some Powertex. I chose the bronze/brown to work with.

 Building up the jar lid to create the roof of the house with foil and masking tape
Next step was to cut up the cotton material ready to dip into the Powertex and cover the jar and then the roof. 
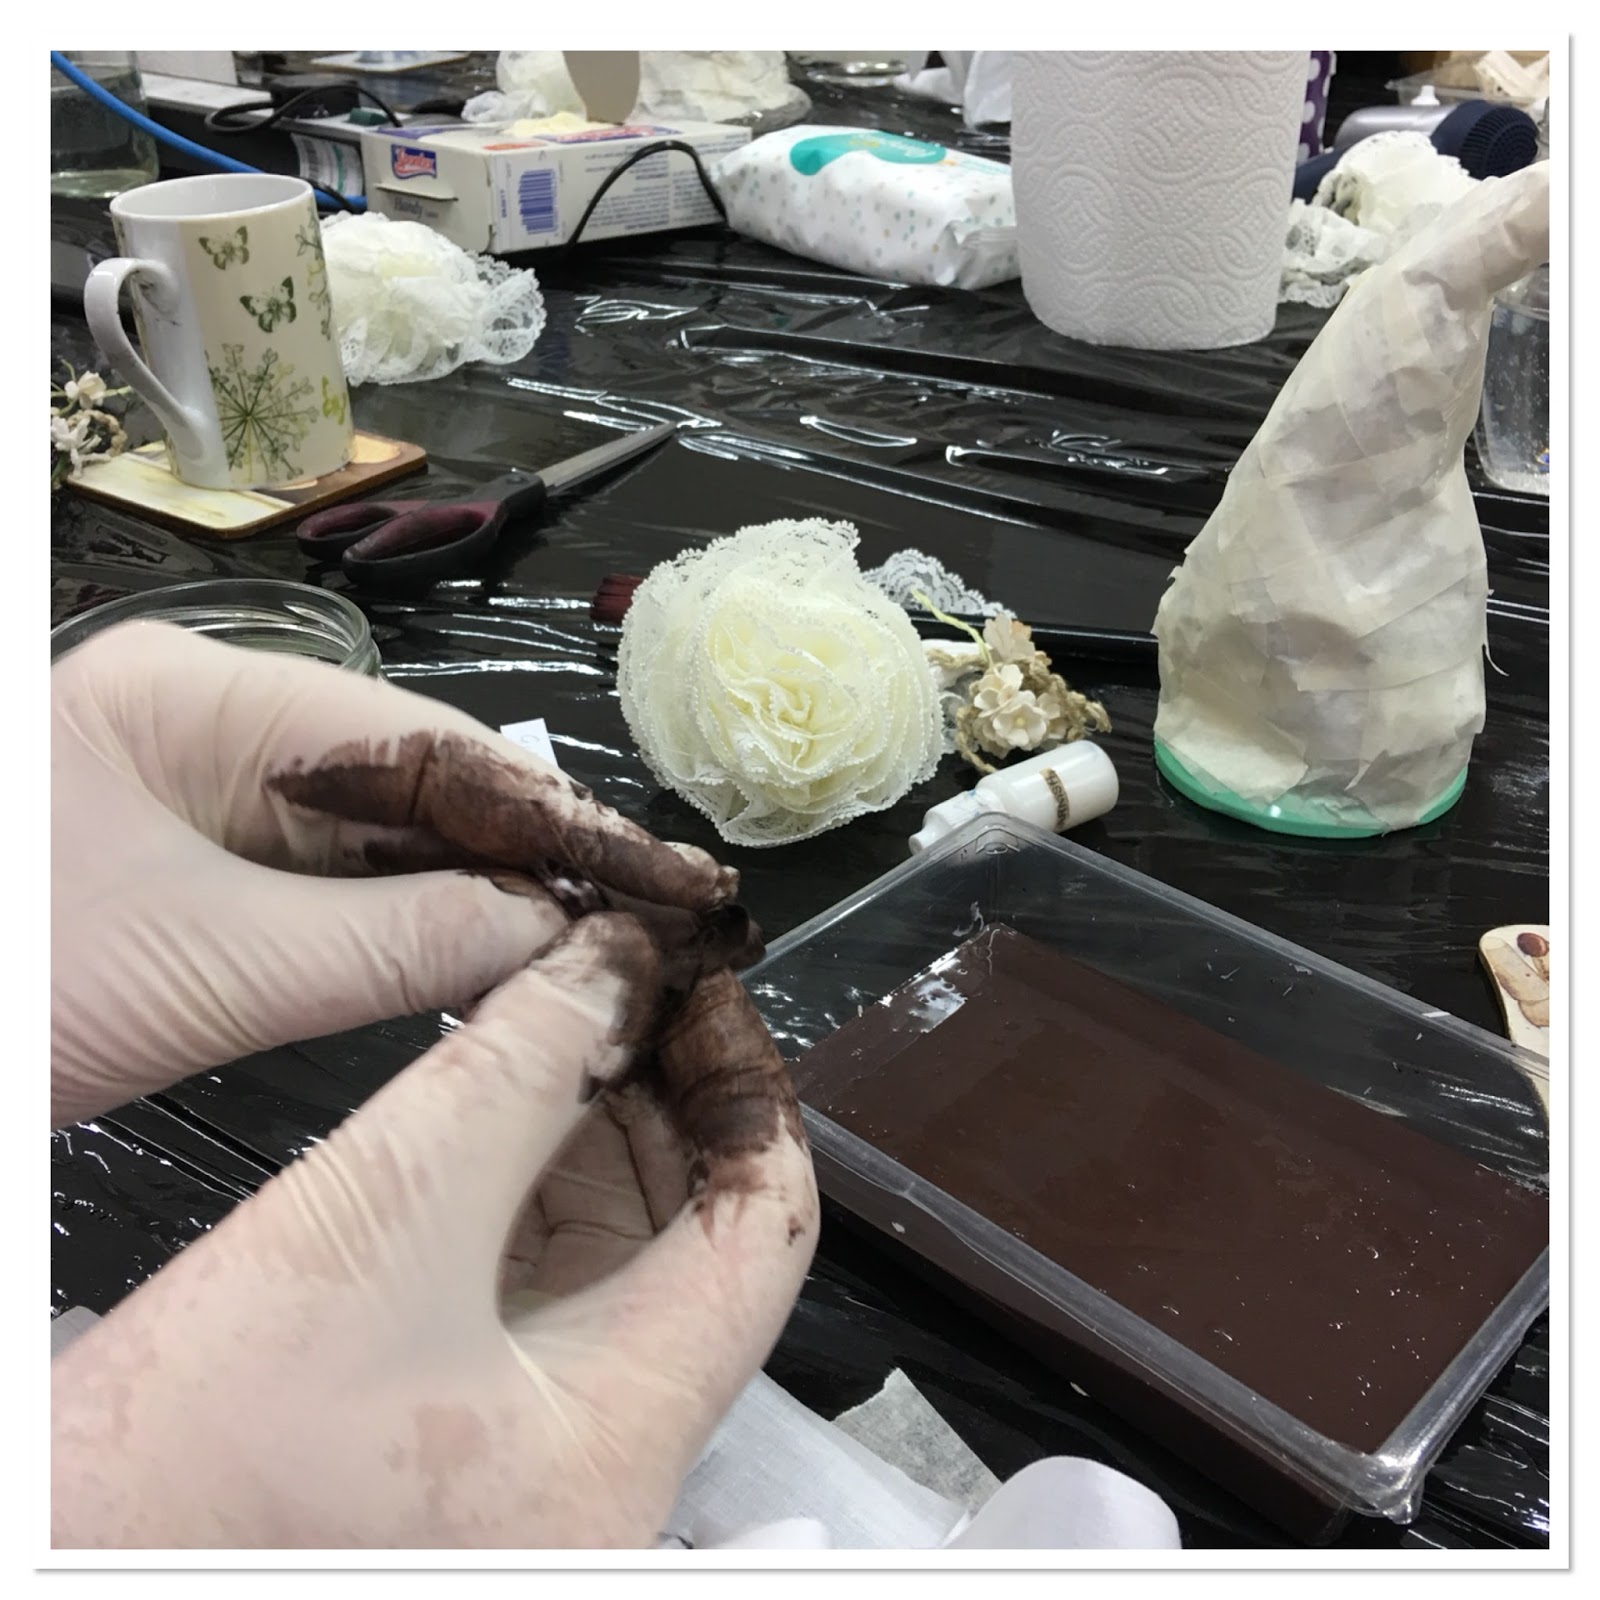
 This next bit was messy so I quickly took one of Gill dipping her material into the Powertex  and didn't have a chance to take photos of the next few steps. 
The jars had now taken on the appearance of fairy houses and they were taken off to the dryer to harden. Gill and I ate our lunches and took the opportunity to do a little retail therapy.

  Amelia's is a real crafty Aladdin's cave. Not only do they sell fab products but everywhere you look, you can't help but feel inspired.
I had a little retail therapy, well it would have been rude not to! I think you might guess what my next new craft sessions will be about.
The afternoon session was then spent painting our little houses. There were some really fab houses coming to life, all shapes and sizes created by very talented ladies.

Nicky took us through the ways in which we could colour the house's using the varnish and powder colours or the sprays which were great for the use on the white Powertex houses.
Below are some photos I managed to take during the painting session. As you can see everyone was totally engrossed!

Thank you to Nicky and her team for arranging this workshop, I really loved it.

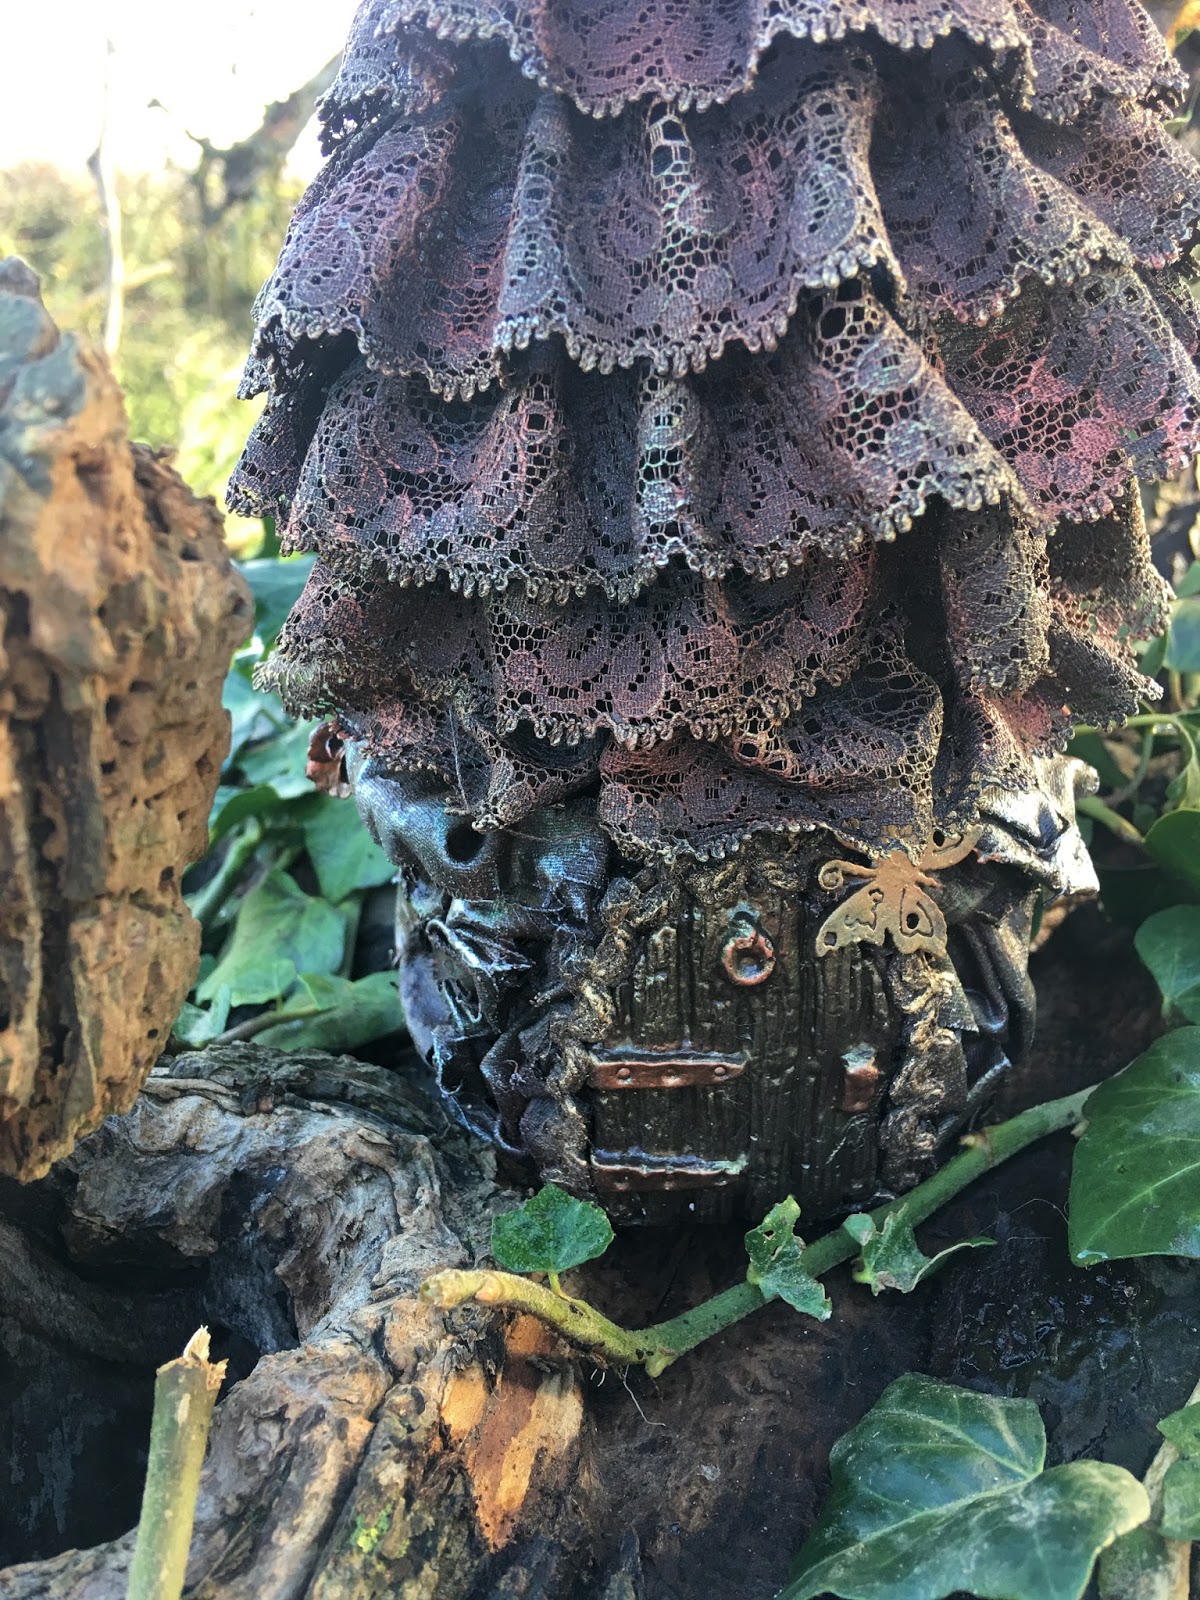
Here is my finished Woodland Fairy House. Pretty sure there will be a village soon. 
Watch this space. 


Bye for now and Happy Crafting.
Sue xx