Showing posts with label Stampin Up Stamp Sets. Show all posts

Tuesday, 8 March 2016

Card Swapping

Hello there, well its been a few weeks since my last post but its not because I have lost my crafting mojo but because Martin and I are celebrating his 60th Birthday with a bit of traveling. (more about that in a later post). For today I wanted to share with you this months Card Swap Challenge.
So this time the challenge was to make a card front using the 'Cracked Glass Technique'.

I must say thank you to Louise (my swap partner) for taking these photos for me.


Here is the beautiful card I received from my swap Partner Laura. Such a beautiful card

Thank you once again Laura


Below is a description of how I put my card together
This technique is done by heating up several layers of clear embossing powder over your chosen stamped image, popping it into the freezer for a couple of minutes and then gently bending the piece until the embossing cracks. If you want to give the piece a more vintage look or just to highlight the cracks then you can go over them with a coloured ink, then wipe it over with a cloth so the ink just stays in the cracks.

I love using this technique but I know a few people in the group had a few problems. My suggestions were to use a 250 gsm or above good quality card stock because some card absorbs the moisture that comes out of embossing powder when heated, it liquefies and the card can suck it in.
I also used two coats of UTEE first then put three layers of Stampin Up clear embossing powder over to give the piece a smoother finish. A couple of people from the group thought using ultra fine embossing powder was to light in texture to give good cracked finish for this technique. I hope this little hints can help you.
So once I had made the center piece for the card I pulled out another piece of white card stock and a couple of stencils and clear embossing paste to create another the backing for the card.


I first lay down one of the stencils and went over it with just a couple of colours of brown, green inks, the went on to use the other stencil with embossing paste. Once the embossing paste was dry I went in with a few different coloured inks, using a sponge to add the colour. Once I was done I went over the entire piece with a wet wipe to blend the colours together.

Just before I mounted the butterfly onto the card base I added curls of gold and green thread to the back of the piece.
Once this was attached to the card I then put little dots of white enamel paste around the card.

As you can see in the photo above one of the butterflies wings were cut off when I die cut it so that extra piece was used to decorate the inside of the card. I didn't do the crack glass technique on that piece though.


Thats all for today, please visit again soon.
Happy Crafting
Sue xx

Saturday, 9 January 2016

New Years Greetings Cards

Hi there, well the weather here in the UK seems to be getting colder. We have had rain on and off for such a long time now and where I live there is a lot of flooding. Luckily our house is above the flood plain but at the end of the orchard you can see the flood water which has come into the fields.

I'm cosy in my craft room and and have been making a few things with those little calendar's you can buy. I know I should have done something before now but.................................
So here is one of the ideas. Check out my blog tomorrow for the other.

The first idea is to make New Year Cards. Yes, again a little late but I made these two for my partners in the card swap challenge group I run on Facebook which I sent out earlier this week.


.
This part of the card spins around the silver circle.
I also marked the date's of the group members birthdays on the calendar with little butterflies.


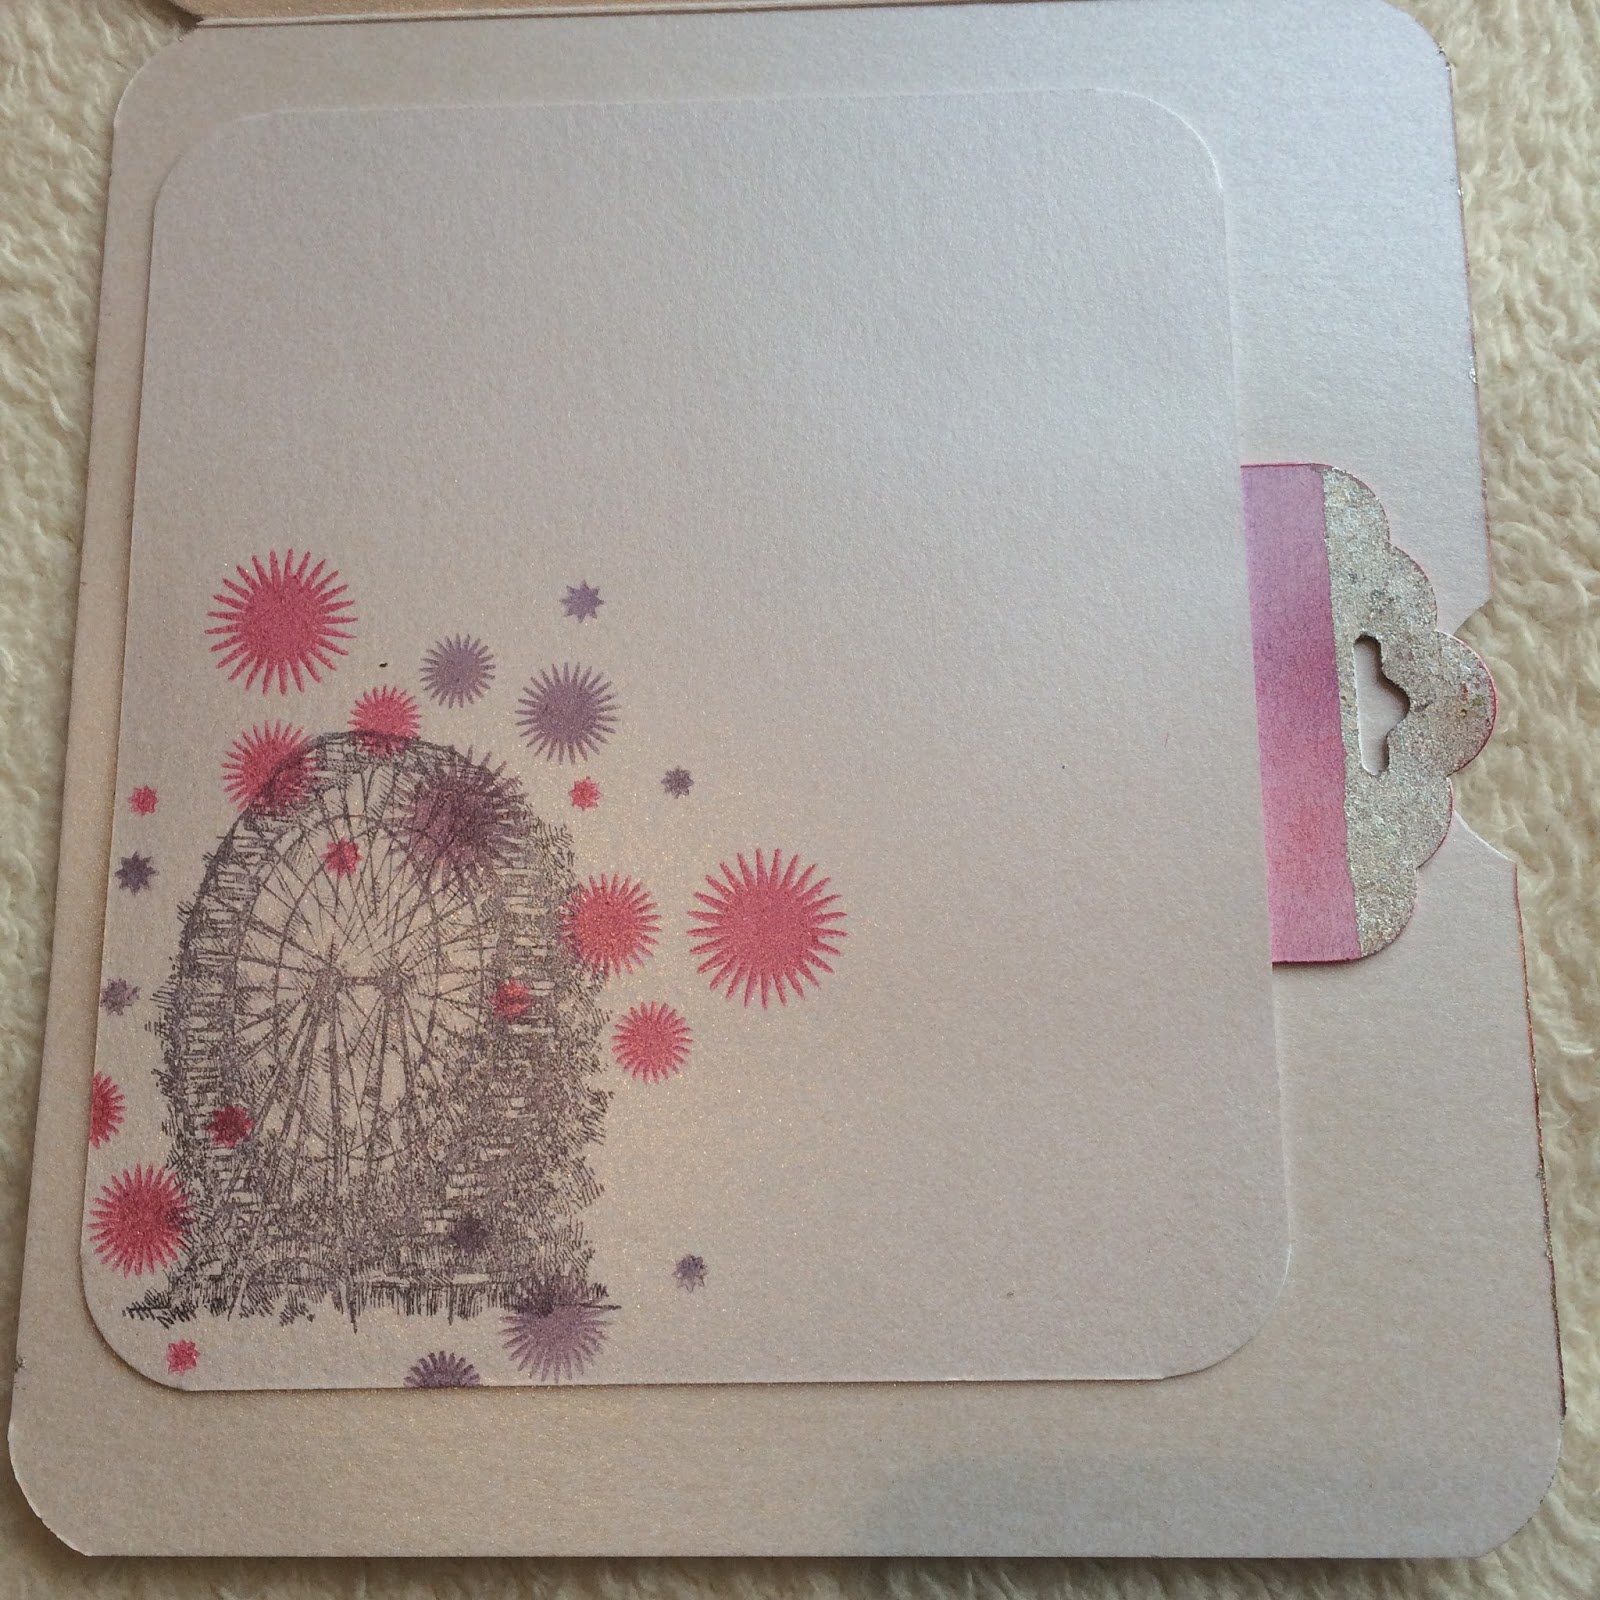
The inside of the card had a slider element with a New Years greeting on it. A gentle pull will reveal the message.


Did you pick up on the London eye and fireworks?

For both the cards I used Stampin up Inks and my Ink Duster (brushes) to colour the card using a pinks and purples. (That was part of the Challenge. Pink, Purple & Silver).
The images of the Fireworks and Month names came from a SU set called Perpetual Birthday Calendar, (I have a set for sale in my shop if you are interested Click on this link) and the London eye came from a set I purchased a while ago called Feeling Sentimental.
Of course I had to get in some Mega Flakes by IndigoBlu so I used them around the front edges of the card and inside on the 'Pull Out Tag'.


The 2nd card was slightly different as I made a pocket and cut out six different length pieces of card for the calendar months to go onto. (One month per side )!

All the little calendars come out of the pocket. Just turn the card over for the next month. Can be used to highlight special occasions such as birthdays etc. Extra room to write little notes on each side of the calendar.


Hope these cards have given you some ideas and you have a go at making one yourself.

Happy Crafting, Sue xx


Thursday, 30 July 2015

Inside Spinning Card

Hello Everyone, Thanks for stopping by.
I can't believe that we are at the end of July! Where has the last month gone?
Mind you its been pretty busy here, what with my youngest daughters graduation and my son moving flats.
So I have two cards to share with you today. One was the card I made for my daughters graduation and one for a Card Swap group I am in, although the lady who was running the group has decided to finish running it now! Such a shame as I have met some lovely people through the group! I hope we keep in touch even if we aren't swapping cards each month!
So here are the cards I have made recently!


This is the Shaker Card made for my daughter.


Here is the second card, an Inside Spinning Card.


The inside of the card was decorated with a few different Stampin Up sets.
Perpetual Birthday Calendar, Dotty Angles and Circle of Spring. I also punched out a few tiny flowers and added pearls to the centers!


The main spinning image was two of the wreaths stamped, coloured then cut out using the die from the Wonderful Wreath Framelits die set. These were glued together sandwiching a piece of clear thread between them.
                            

Well im off now to play with my new set of Brusho Colours. Will let you know how I have got on with them over the next few days.
Happy Crafting xx