Friday 29 June 2018

Pull Up Greetings Card Photo Tutorial

Hello there, WARNING. PHOTO HEAVY BLOG POST - but I really hope you enjoy taking a look.
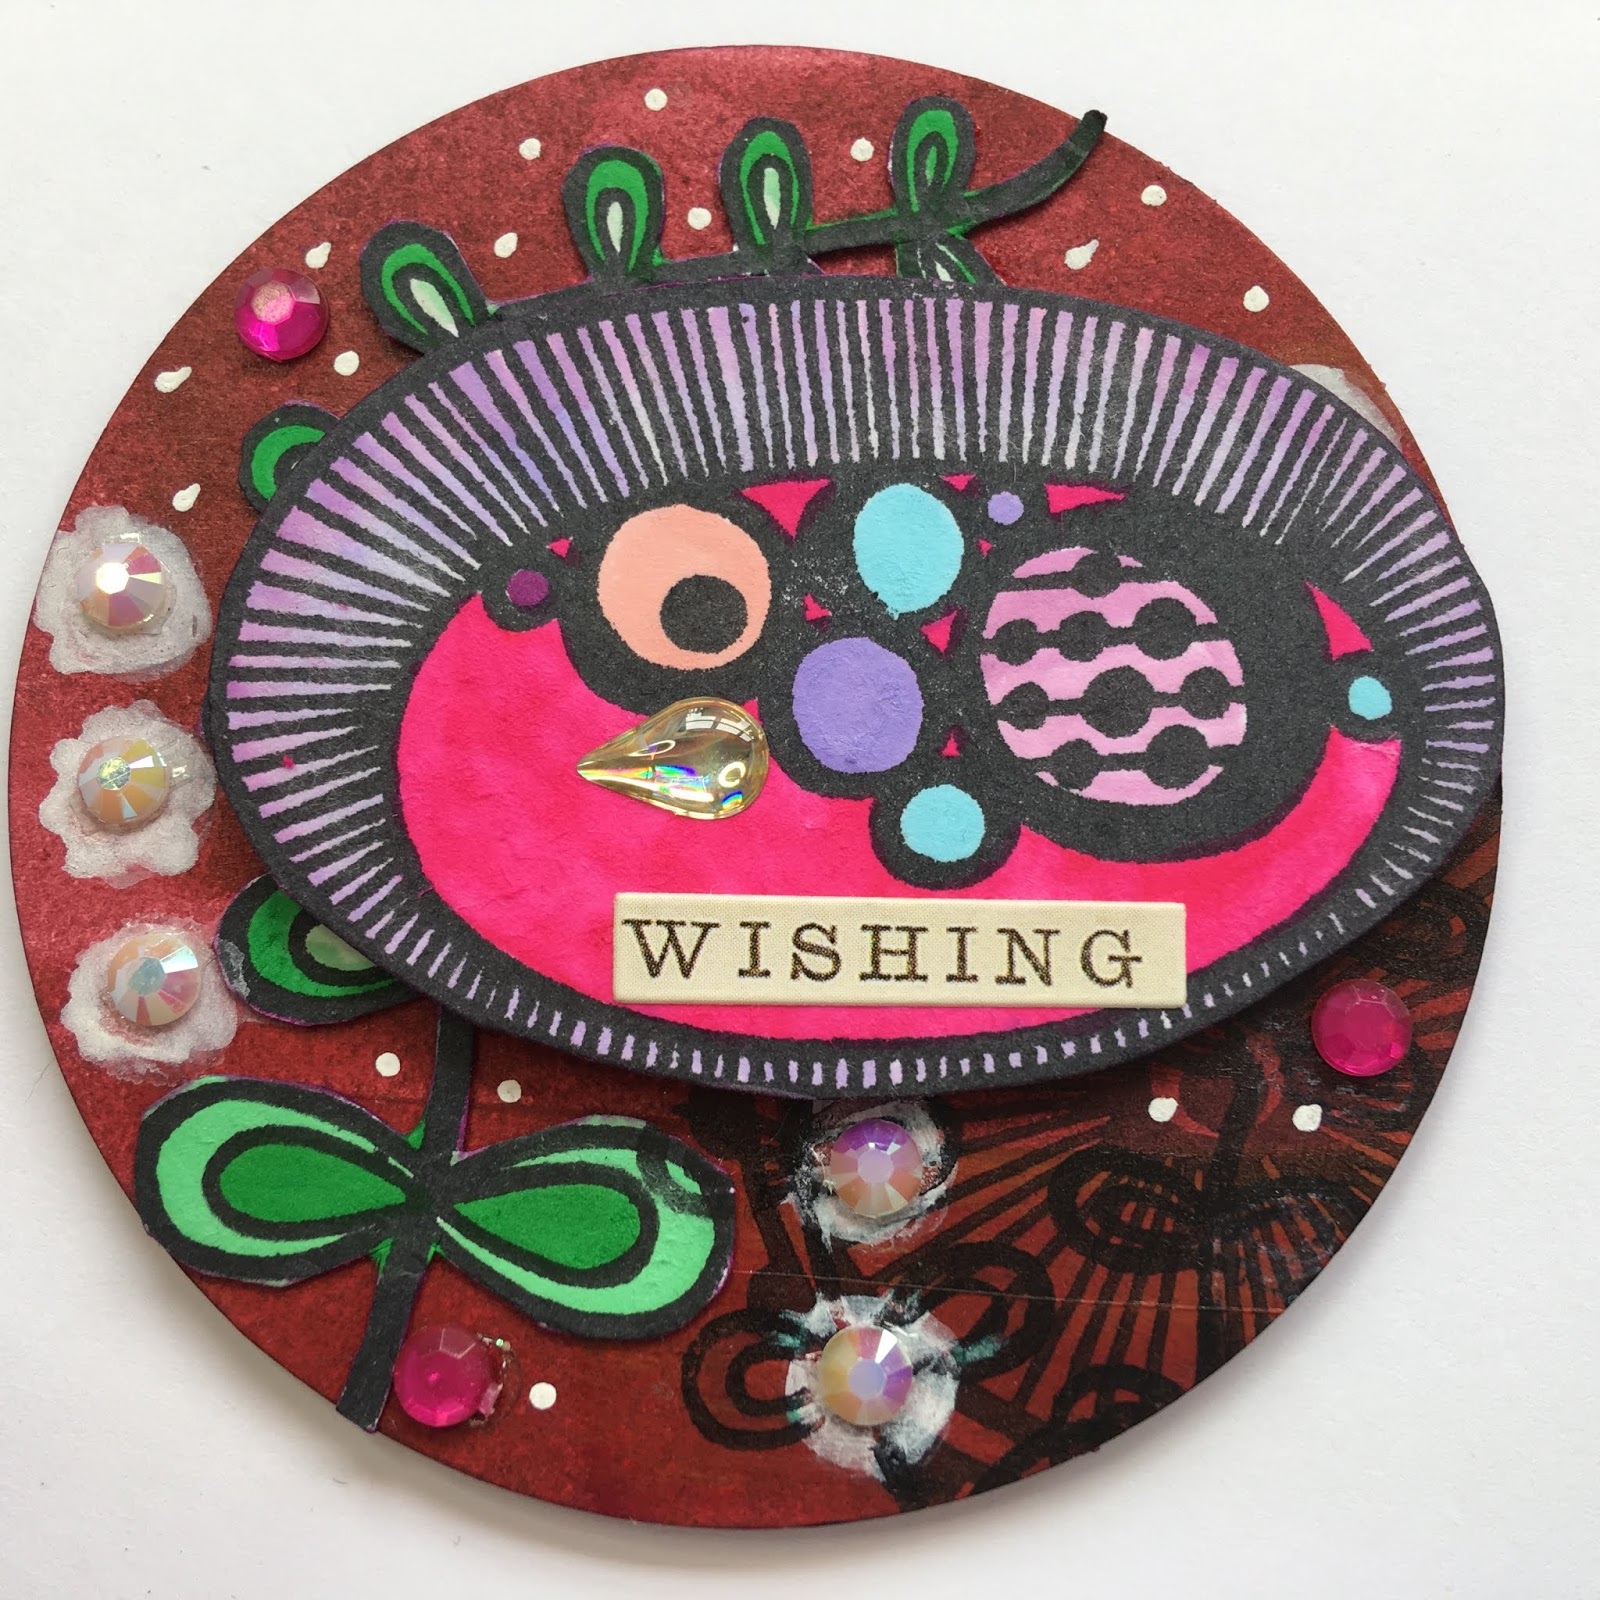
Today I have a card to share with you. Its an interactive type of card that I hadn't seen before and found it when I was on Youtube. Here is the link to the channel I first saw this type of card.
It caught my eye as its a bit different and which I love, yet folds up to be posted so doesn't cost too much to send. 
When making my sample up I did change some of the details as to what they did in the video.

I have kept with the name, Pull up Card but its also know as an Accordion or Lantern Card.
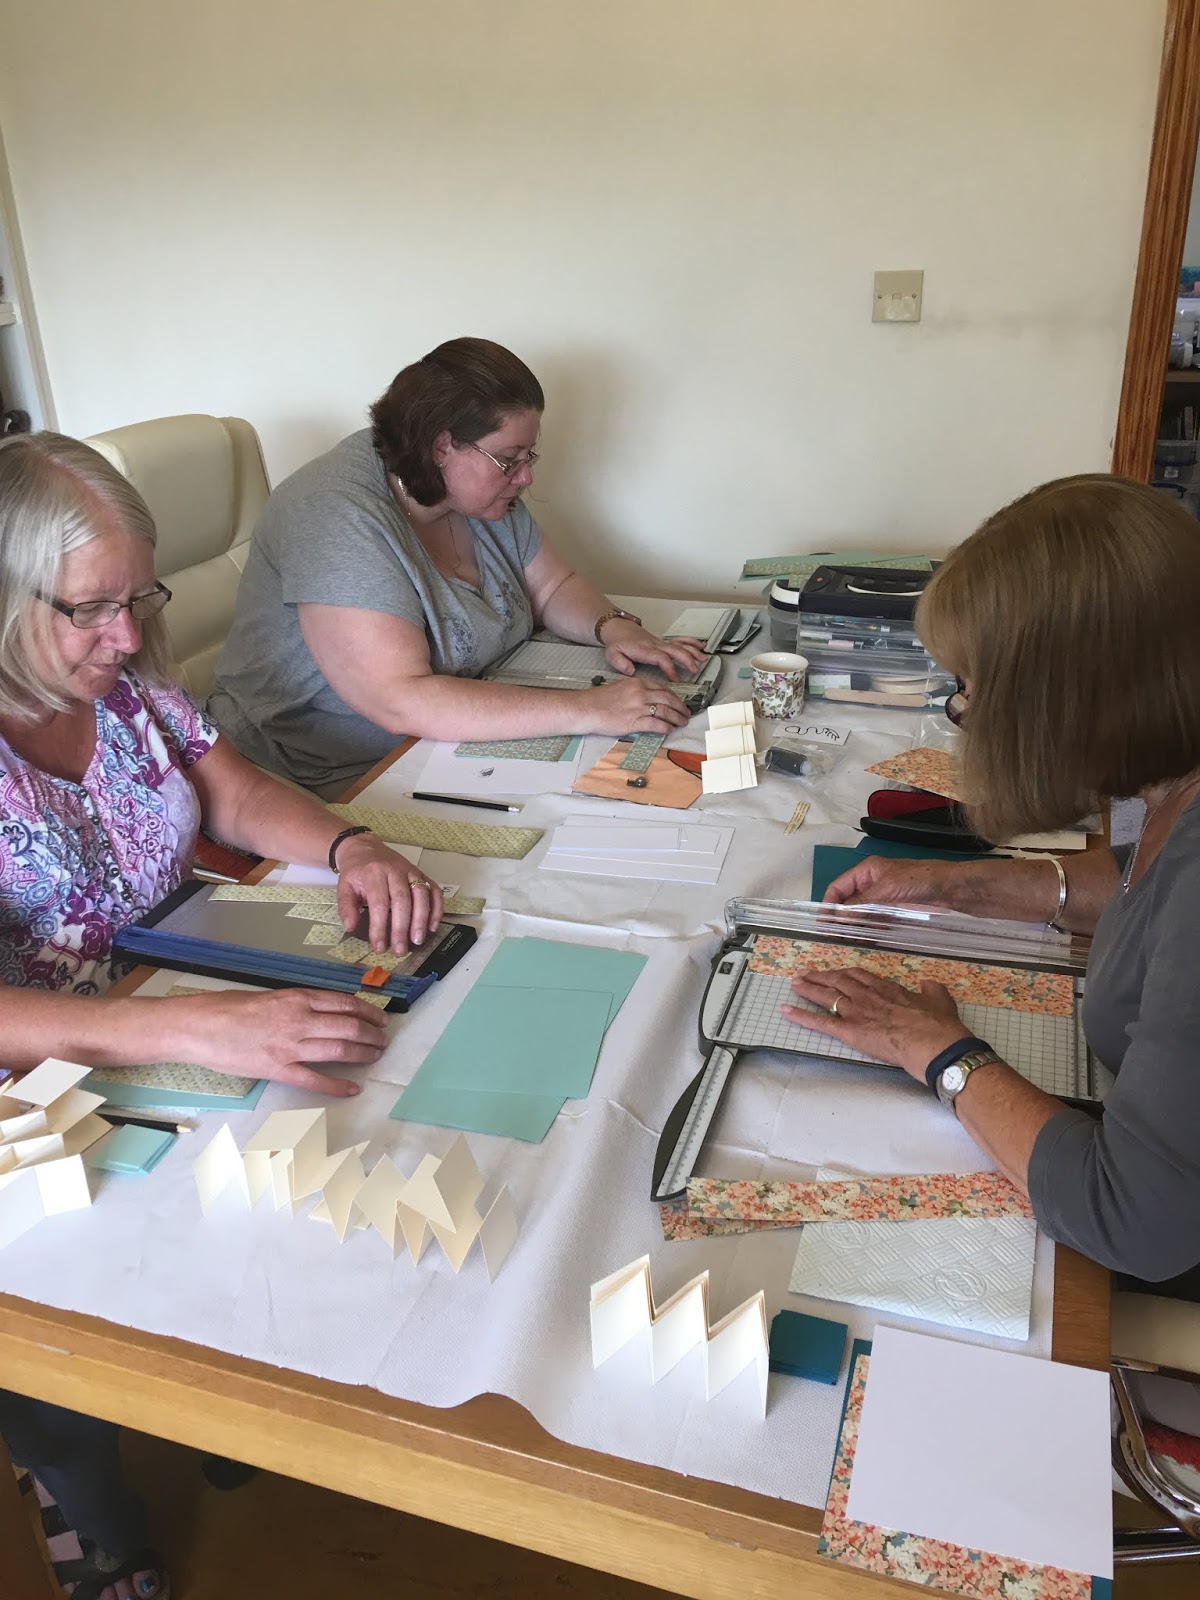
As I was quite taken with this card so used it in my FB challenge group and also for my monthly Craft group. The ladies all came up with some stunning cards.
Here are a few photos of the craft group in full card making mode!


Below are some photo instructions on how I made my first Pull Up Card and further down the post there are some other, slight variations. Enjoy.

 Cut yourself 1 base layer in plain card 6 1/4" x 6 1/4" and patterned paper layer a 6"x6"

 Cut 4 strips out of white card measuring 2" x 12" then score at 2", 4", 6", 8" and 10" mark
Fold all strips into a concertina


Using your trimmer cut up 
20 x 1-3/4" squares in the base colour card
16 x 1-1/2" squares in the patterned paper
4 x 1-1/2" squares in white card (These will be used for stamped sentiments)

Now to layer up those squares. Stamp your quotes onto the white card first then layer them up onto the base coloured card. Layer up all the rest of the base coloured squares with the patterned paper.

Attach all the squares to the 12" strips but leave the bottom squares as these are going to be attached to the base layer.
 I kept all my sentiments in line but you could add them anywhere you want.


Next step is to turn your patterned base layer over and draw to lines to show the layer in 1/4's. This will help you to position those 4 concertina strips.

I used one of the 12" strips as a template to mark where each strip should should be placed equally.

Now glue down each 12" strip making sure the patterned paper on the strip is showing.

Once all the 12" strips are glued down flip over and concertina the strips again. Use a bone folder to get crisp folds.

 Using the same coloured card, cut out 2 - 3 1/4 x 3/4 strips
Glue the strips together at the centre point of the strips

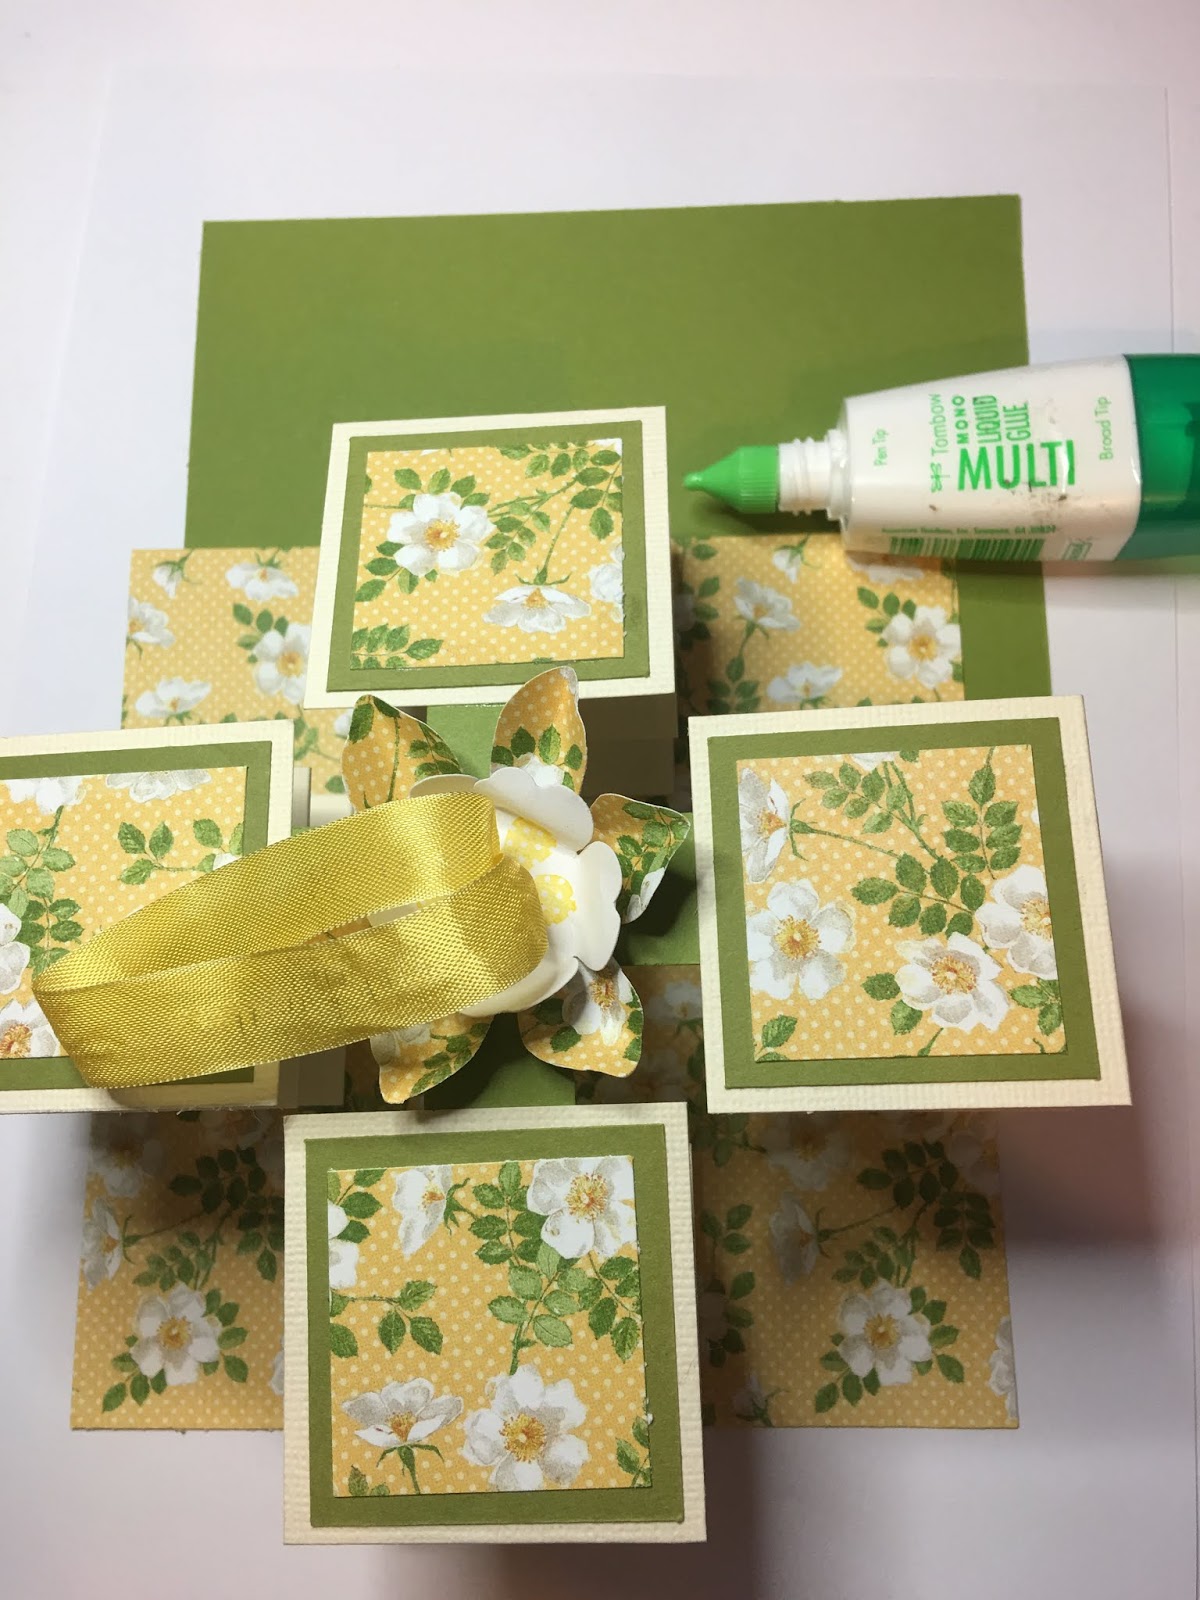
Punch a hole in the middle of the cross. This will be where the ribbon is threaded through later. Now lay the cross onto the middle of the patterned paper. I unfolded the strips and folded the strip back after the third square from the top. See photo above! This makes it easier to get the cross positioned correctly in the middle of the card
With a pencil,  mark on the cross where each top part of the strip meets then you know where to put the glue to attach it to the strips. Don't glue anything down yet!

Use punches or die's to cut out three shapes. The flowers are to embellish the top part of the cross and the circle is to hide where the ribbon comes through under the cross. (see photo below).

Layer up the flower and glue into the middle of the cross. Turn over and using the hole in the cross as a guide, punch a hole all the way through the flower as well.

Glue two parts of the cross to two of the 12" strips.
With a 8" piece of ribbon, doubled up, thread the ends through the flower and cross as the photo above.

 Separate and flatten out the ends of the ribbon and stick the ends onto the cross using strong double sided tape. Add some of the tape to the circle.

 Cover up the ribbon ends with the circle to tidy everything up.

Stick down the remaining strips into place.
Cut out a piece of white card measuring 6"x6" and glue onto your card base so that you can write a message.  
 Turn the pull up card over and run some glue along the base piece of patterend paper and stick the card base down into place. Flip the card upright and make sure everything lines up.

And that's it! You can also add other embellishments to further decorate the card as I have done in the other style of cards I made below, and going on a little further you could also make an envelope or box for the card to go in.
Here are a few extra cards I have been making. 
I would love to know what you think of these cards and if you have made one already.
Have fun and Happy Crafting.
Love Sue xx


Wednesday 20 June 2018

IndigoBlu - Besides the Seaside, besides the Sea!


Hello there, today I would like to share with you a card I created with Summer in mind. Whenever I think of summer, my mind goes back to the start of the school summer holiday knowing it wouldn't be long before we had a trip to the 'Sunny Seaside' and even if it rained, we still enjoyed our trip.

So why this card?
Well we have a Brand New Monthly Challenge starting today on the "I Love IndigoBlu" Facebook Page and the Theme is SUMMER.  All you have to do is to Challenge Yourself to create a Summer project using IndigoBlu products, share it on the I Love IndigoBlu FB group and you will be put forward to winning a suprise, prize from IndigoBlu. Even I don't know what you will be sent for winning.
As requested from a lot of our members on FB Julie and I will share a tutorial each on how we made our pieces for the challenge and share with you a couple of techniques using the products we used.

Lets begin!

So I'm going back in time and using one of the Older Stamp sets called 'Skegness'. (This set isn't showing up on line but Kay assured me that if anyone would like to purchase their own set, they can still press one out for you. Just give them a ring or send them a message via their contact us box on line)!
  Well it certainly can be Bracing at Skegness. The last time I went there was in the winter months, everything had been closed up but we still went for a walk along the sea front. I refused point blank to have a paddle, the water was icy cold!

Moving on from memory lane. As the theme is Summer I decided to go with the super Starburst Stencil because to me it looks like sun rays so I pulled out my English Cottage Acrylic paints in Goldfinger, Burning Bonfire, Lemon Meringue and of course Sunshine, along with some sponges to use with the paint for the stencilling.
The first step was to stamp three of the images onto a piece of 6"x6" stamping card then again onto some masking paper (or you can use post it notes). 
I then cut out the masking paper images and placed these over the top of the images on the card. I did this so that I could go over the top of the images to create a background with the stencil and paint and would be able to go back in after taking off the masking paper to colour the images.

Using the sponges I dabbed it into the paint lid then onto my glass mat to work the paint into the sponge. I find doing it this way I don’t overload the sponge causing paint to go under the stencil.
I went around the card in three areas with the first colour, then wiped the stencil off before filling in different areas in the different paint colours.
Once the paint was dry I removed the masking paper and coloured in the images with Postbox Red and Sleeping Beauty paint.


I then pulled out my Stamping press to do the Rhyme and to mask off areas of it to just pick out a couple of words. (Beside the Sea) 

On a spare piece of white card I gave it a thin wash of IndigoBlu paint,  (A wash means diluting the paint with a lot of water) and once dried I stamped out the rhyme. I then cut this up and mounted it onto white card to give it a boarder.
Once the images were painted and dry I went in and highlighted certain parts with a white and gold pen. I then mounted this onto a piece of Red Cardstock slightly bigger than the card front and layered this onto a card blank.
The finished Card.
Now that you have seen my card, why not pop over and check out Julie's vision of the Summer. It really is a beautiful card. Here's a peek and the Link to Julie's Blog, Art and Soul.

I do hope we have given you some inspiration and that you Join in on the I Love IndigoBlu Facebook page challenge. 
Happy Crafting xx
One last Jolly Image and a link to take you stright to the IndigoBlu Web Site


Saturday 9 June 2018

Artist Trading Coins and a little Storage Coin Holder

Evening all,
I received a request on Face Book today to share how I had made my little round holder for the Artist Trading Coins I had swapped in my challenge group so here is a quick step by step on how the holder was made. Of course you can spend more time decorating yours. 
I used some of the spare circles I had left after making my swap in this tutorial, but unfortunately I didn't have a spare strip for the gusset so used white card which I will decorate at a later date. (I promised I would get this tutorial done today)!
Just before I move onto the holder I wanted to quickly explain about the ATC (coins). So you may have heard about Artist Trading Cards, well this is the same thing just round instead of square, hence the Coin part. Mine are made layering up, four 2 1/2" circles of punched out 300 gsm card.
These coins are decorated front and back but its up to you how you decorate them.

Here's how I made the holder.

Step 1. Punch out four 2- 1/2" circles and a strip of card measuring 1- 1/2 " x 4"


Step 2. Score the strip of card at 1/2" & 1"

Step 3. Snip out small triangles either side of the middle strip. This helps to curve the card into a circle shape ready to stick onto one of the punched out circles

Step 4.  Next roll the strip of card around a pen to loosen up the card fibres

Step 5. Fold the card strip along the score sides and curve into a semi circle

Step 6. Now you need to start putting things together. I found it easier to start from the middle of the strip, one side at the time using wet glue. You will need to help curve the strip  around the circle.
Hope this makes sense, check out the photo

Step 7. Once you have attached one side of the card strip, glue another circle over it to tidy it up and strengthen the sides. Using the same steps above, attach the 2nd side of the box.


Step 8. I found using a bone folder helped to push down the little triangles inside the holder

Step 9. All that's left to do now is to decorate the holder and colour in along the edges.

Here are some extra photos of the coins and holder I have posted on Face Book.
I hope this helps you make some of your own, they really are fun to make.

Front of the Coins

Back of the Coins
If you have found this post helpful I would love for you to leave me a comment and follow my blog. 
Enjoy
Happy Crafting 
Sue xx