Evening all,
I received a request on Face Book today to share how I had made my little round holder for the Artist Trading Coins I had swapped in my challenge group so here is a quick step by step on how the holder was made. Of course you can spend more time decorating yours.
I used some of the spare circles I had left after making my swap in this tutorial, but unfortunately I didn't have a spare strip for the gusset so used white card which I will decorate at a later date. (I promised I would get this tutorial done today)!

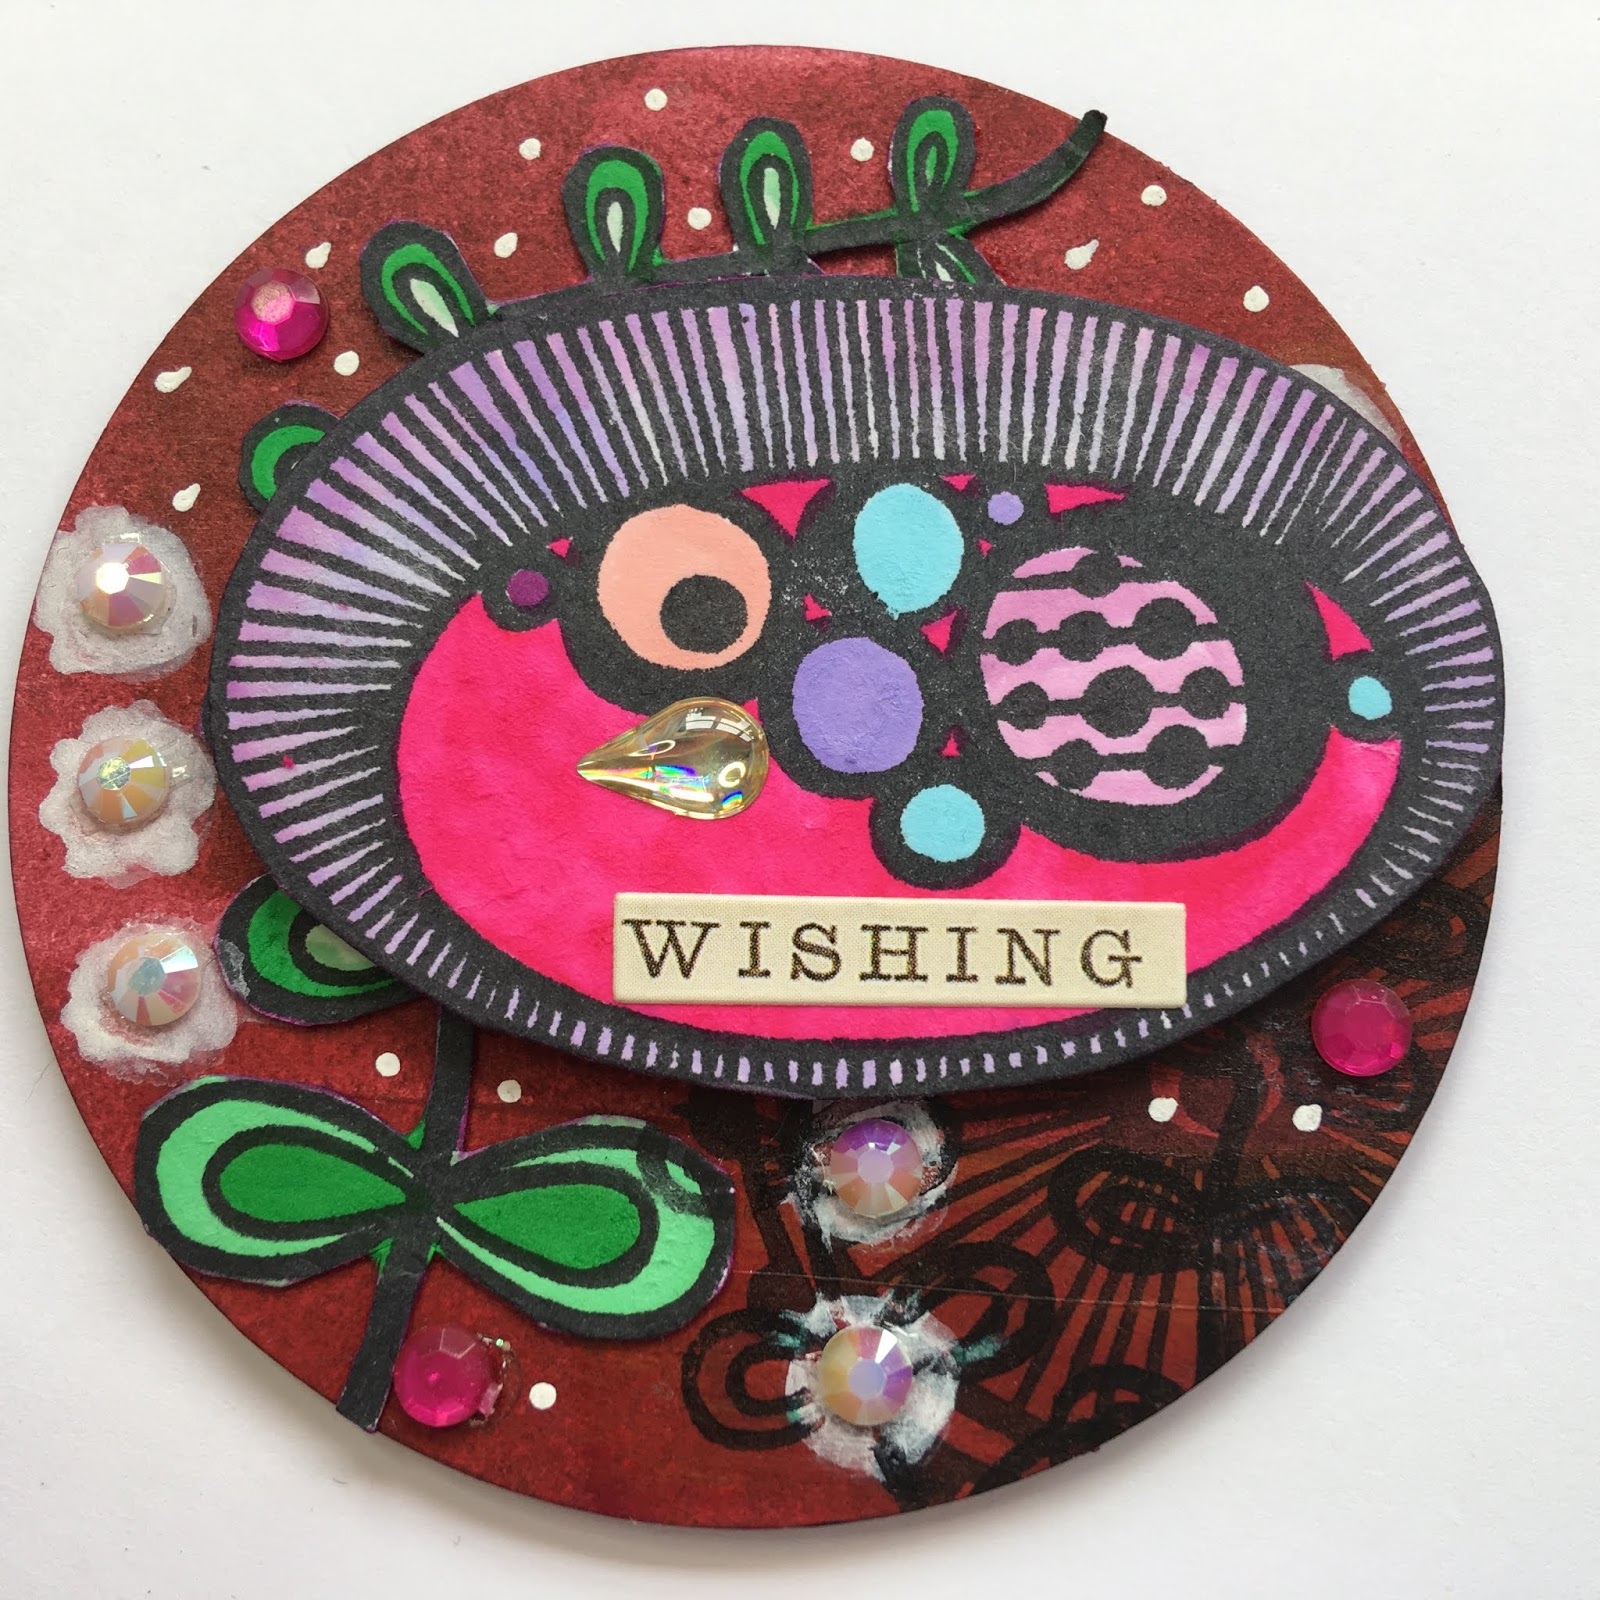
Just before I move onto the holder I wanted to quickly explain about the ATC (coins). So you may have heard about Artist Trading Cards, well this is the same thing just round instead of square, hence the Coin part. Mine are made layering up, four 2 1/2" circles of punched out 300 gsm card.
These coins are decorated front and back but its up to you how you decorate them.
Here's how I made the holder.
Step 1. Punch out four 2- 1/2" circles and a strip of card measuring 1- 1/2 " x 4"

Step 2. Score the strip of card at 1/2" & 1"

Step 3. Snip out small triangles either side of the middle strip. This helps to curve the card into a circle shape ready to stick onto one of the punched out circles

Step 4. Next roll the strip of card around a pen to loosen up the card fibres

Step 5. Fold the card strip along the score sides and curve into a semi circle

Step 6. Now you need to start putting things together. I found it easier to start from the middle of the strip, one side at the time using wet glue. You will need to help curve the strip around the circle.
Hope this makes sense, check out the photo

Step 7. Once you have attached one side of the card strip, glue another circle over it to tidy it up and strengthen the sides. Using the same steps above, attach the 2nd side of the box.

Step 8. I found using a bone folder helped to push down the little triangles inside the holder

Step 9. All that's left to do now is to decorate the holder and colour in along the edges.

Here are some extra photos of the coins and holder I have posted on Face Book.
I hope this helps you make some of your own, they really are fun to make.


Front of the Coins


Back of the Coins


If you have found this post helpful I would love for you to leave me a comment and follow my blog.
Enjoy
Happy Crafting
Sue xx
Thanks Sue. This will be a great way to store the circles and to send them out as sets.
ReplyDeleteGreat idea Alison. If I can help anymore please let me know xx
DeleteLovely clear instructions Sue. Thanks for sharing.
ReplyDeleteThank you Sarah xx
Deletegreat work sue - just made my first ones tonight x
ReplyDeleteThank you Rachel, glad you made some, they are fun pieces to create xx
DeleteGreat tutorial!!! Xo
ReplyDeleteMany thanks for checking this out Anna xx
DeleteThanks for taking the time to show us how to make the holder for the coins and also explaining about the coins themselves. The instructions and pictures are really clear and a great help x
ReplyDeleteThank you Hollyberry and for checking out this post. I hope you have fun making some xx
DeleteThanks for sharing Sue. I really enjoyed making these and a fab challenge this month. Hugs xxx
ReplyDeleteSo pleased you enjoyed making them Christine, yours were so pretty xx
DeleteA fantastic idea and tutorial, love it
ReplyDeleteYay,thanks for checking this out Lou xx
DeleteBrilliant Sue ☺ Need to give this a go ☺☺☺
ReplyDeleteThank you for checking this out Tamara xx
DeleteVery clever idea, one which I will try to make. Thank you for the clear instructions
ReplyDelete