Tuesday, 21 February 2017

Love is all you need- IndigoBlu Blog Challenge


Hello there, for this months inspirational reminder I decided to use a Beatles song to make a card that looked like a LP with lots of funky bright 60's colours and hearts. I thought using the New Mini Mike stamps might be fun for this. (Unfortunately my husband didn't agree, he thought it was the village people)! Anyway I had fun creating this card as I love lots of bright colours myself.
If you would like to join in the fun you can find the challenge details here!


I started this card off stamping the Dinkie'Love Is' heart several times onto a round piece of white card.

I then went onto stamping with the 'Circle Dot Background'and painting the hearts with Marshmallow coloured paint.

I then brought in lots of the bright coloured paints and did some more stamping of the circles over the top.

I added some flowers for 'Petal Power' and coloured in the rest of the circles. I stamped out four Mini Mikes and used the paints to colour them in.

I then attempted to give the guys a 60's look with a different hairstyles and mustache.

For the quote I used the word 'Love' from the stamp set Words Block #1 by just using a black marker on the word love and stamped and cut it out. For the other words I used my DYMO word printer machine.


I then used a grey marker around the Mini Mikes to make them pop up a bit and mounted the card onto a larger circle of black card.

I then thought I really should add some musical notes so stamped a few from the Dinky Stamp 'Notes'

Well thats all from me for today. I had quite a lot of fun putting this card together and I hope that you have a go at this months challenge.
Happy Crafting xx


Saturday, 11 February 2017

Cheesecloth flowers- A quick Tutorial!

Hello to you,
Today I would like to share how I make my cheesecloth flowers. 
I recently made a card using them as an embellishment and have had a couple of requests on how I made them so here we go.
The 1st card was the one I posted on FB, the 2nd card is one I made to show you how to make your own cheesecloth Flower.


What you need
Fine Cheesecloth
Slap-it-on
White Card- used to make your own card blank, layered piece to stencil on, base for the flower, leaves and sentiment.
Punch or circle die
Leaves Die (I used Tim Holtz Tattered Leaves)
Double sided tape
Black Ink pad
Stamp (IndigoBlu Word Blocks #2)
Luscious Powder or your choice of paints, inks, pens, to colour the flower.

How to make a Flower

Cut a strip of cheesecloth and cover with Slap-It-On. I found the best way to do this was to put a little (you can always add more if its not enough)  SIO onto your craft mat and work the cheesecloth onto it until it has been covered but not totally saturated. Gently pull the cheesecloth back into shape and leave to dry. (about 10 mins) This process stiffens the cheesecloth making it easier to work with and gives a better shape to the blooms.
 
While waiting for the cloth to dry out, make the base for the flower. I punched out a piece of thick card then covered it with double sided tape. 

At this stage I folded the cloth in half, length ways so when you have attached it to the tape base you can pull the cloth out slightly to give the flower more definition.
Remove the backing from the double sided tape on your circle and starting from one end of your cloth, press it into the middle and work it around the circle keeping the folded part on top.


Once you have finished winding the cloth around the circle and you can't see any more of the base, finish off by cutting off any extra cloth and sticking this end under the flower.
When you have finished this part, gently pull out the cheesecloth to make a fuller bloom.


I used two colours of Luscious powders to colour my flower. I mixed up the powder into thin paint.

Lightly paint your flower. If you want to darken the colour wait until the first coat is dry before adding more paint.

Add your choice of embellishment to the middle. Gems, beads or old pieces of jewellery are great for decorating these flowers.

I then stamped out the word 'Beauty' and die cut it out into a leaf shape. I also cut out a plain white leaf to layer under the word leaf.

The leaves were layered up, slightly off center to each other then glued to the underside of the flower.

Just using one flower was the perfect size for a little note card. I used a stencil to make a background to the flower, stamped and punched out a sentiment and the card was finished.
I had lots of fun making these flowers, I hope you have a go for yourself.
Happy Crafting xx


Wednesday, 1 February 2017

IndigoBlu Blog Challenge, "Love is all you need"!

Hello there,
As you may have seen, the IndigoBlu Blog Challenge has changed its starting date and will now be on the 1st of each month. The Design Team will still be posting their inspirational blog posts and the International Design Team will also be joining in.

The New Challenge is called "Love is all you need", just like the song! Have you got that tune in your head as well now?

This is my inspirational piece for the challenge and I have called it "Love Birds" Guessing you can see why!
Now when I started this piece I had a slightly different idea for the frame, I didn't like it so started over and painted it again so apologies for the first couple of photos as I thought I would still show you as a possible idea for a rust effect frame.


(For the rust effect on the frame I gave it a coat of black Gee-So-Good to prime the wood then mixed up some black gesso and Hot Cocco English Cottage Paint and mixed that in with some Coarse Modelling Paste and spread this on the frame. Once dry I then brushed on some dry Luscious Powders (Teal & Orange) and sprayed the frame with water working in the Luscious Powders. Once that was dry I added a little more powder and a touch of Burning Bonfire paint. But as I said it didn't really go with the rest of my project, it was too dark, so I started over and painted the frame in white Gee-Soo-Good, so you see, there is always a way to change something you are not happy with)!


 I love the texture the Modelling Paste gives to the frame


Once the frame was dry I then dusted over it with the Luscious New colour "Poseidon Blue" and some Teal. Once done I sprayed it all over with water to set the binder thats in the Luscious Powders.


 I wanted to create a reverse image as well from the bird from the "Take Flight" so I stamped the image first on one side of the glass in black Stazon Ink, then flipped the glass over and stamped another image. 
(When painting on glass make sure its really clean before you start and watch out for finger prints. Really important, remember to carefully clean again before putting the glass back in the frame)!

I then painted both birds on the same side of the glass. (If you try this you will find that one of the images is slightly harder to paint as you don't have a black line to paint up to. 


Once the images were painted and if you hold the glass up you can see where you have missed parts so the best thing to do is paint on the back of the images. This give a crisper image on the front of the glass.


 I used a couple of the metallic paints on the birds and its a shame I don't have a better photo to share with you but the natural hasn't been very good and electric light bounces off the glass. 


For the backing of the frame I covered the base with a piece of Teal coloured card stock from the set Damaged Damask, gave it a thin coat of white Gee-Soo-Good and Townhouse Teal paint. Once the paint was dry I used the Damaged Damask Stencil with Super Thick Slap it on mixed with a little Kingfisher Blue paint.


I took another piece of the card stock and stamped it with the Script Background Stamp, tore around the edges and highlighted them with Blue Luscious Powder I mixed with water.
I found some small wooded hearts in my stash, gave them some paint treatment and used them between the base of the frame and the glass.


The added embellishments were a small glass heart I had coloured with Luscious Paint and Mega Flake, Bakers Thread, small crystal clusters and a sentiment from the stamp set "Live, Laugh, Love" I had cut up.
I wanted the birds to look as if they were carrying the heart so used bakers twin as it was finer than the ribbons I had.

I hope I have inspired you to join in and have a go at this months challenge yourself. 
Have fun and Happy Stamping xx


Wednesday, 18 January 2017

Venturing into the relm of Memory Jars

Hello to you,
Today I would like to share with you an idea I have had for a memory Jar. I had read about these a few years ago but never did anything about them until I saw a post on Facebook over Christmas and thought this time I would make my own. Now most people who put these jars together start putting in there memories from the 1st January them open them up on New Years Eve and look back at what they had achieved over the year.


Well I didn't start my jar at the right time for this idea so I thought I would do my own thing and collect together certain things to put into the jar that meant a lot to me in 2016 and would continue into the end of this year 2017 or until I can't fit anything else into the jar.
For me, 2016 was a pretty good year. I went traveling, was invited onto several of the IndigoBlu Design Teams and my children have all done really well, in their careers and personal lives.
The highlight was I went traveling with my husband around New Zealand for six weeks and my Jar depicts this in quite a few ways. I wanted to visit Hobbiton (where Lord of the Rings was partly filmed), hence the doorway on the Jar, also I wanted to show the Fern leaf as its something I have always loved the look of especially the new shoots unfurling, but also as a NZ Government vote was being taken on a possible change of their flag to show the Silver Fern. ( The vote was taken and the Flag remained the same)!


I think its now time to get on and show you some photos of the jar. It started its life off as a mason jar which I first of all painted with white Gee-Soo-Good to form a good base to paint onto.

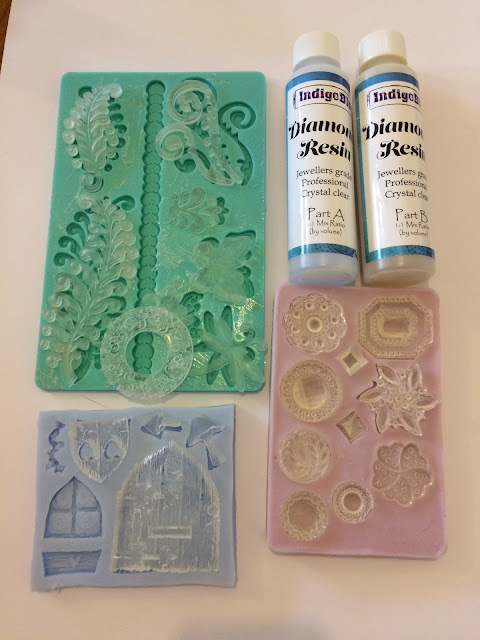
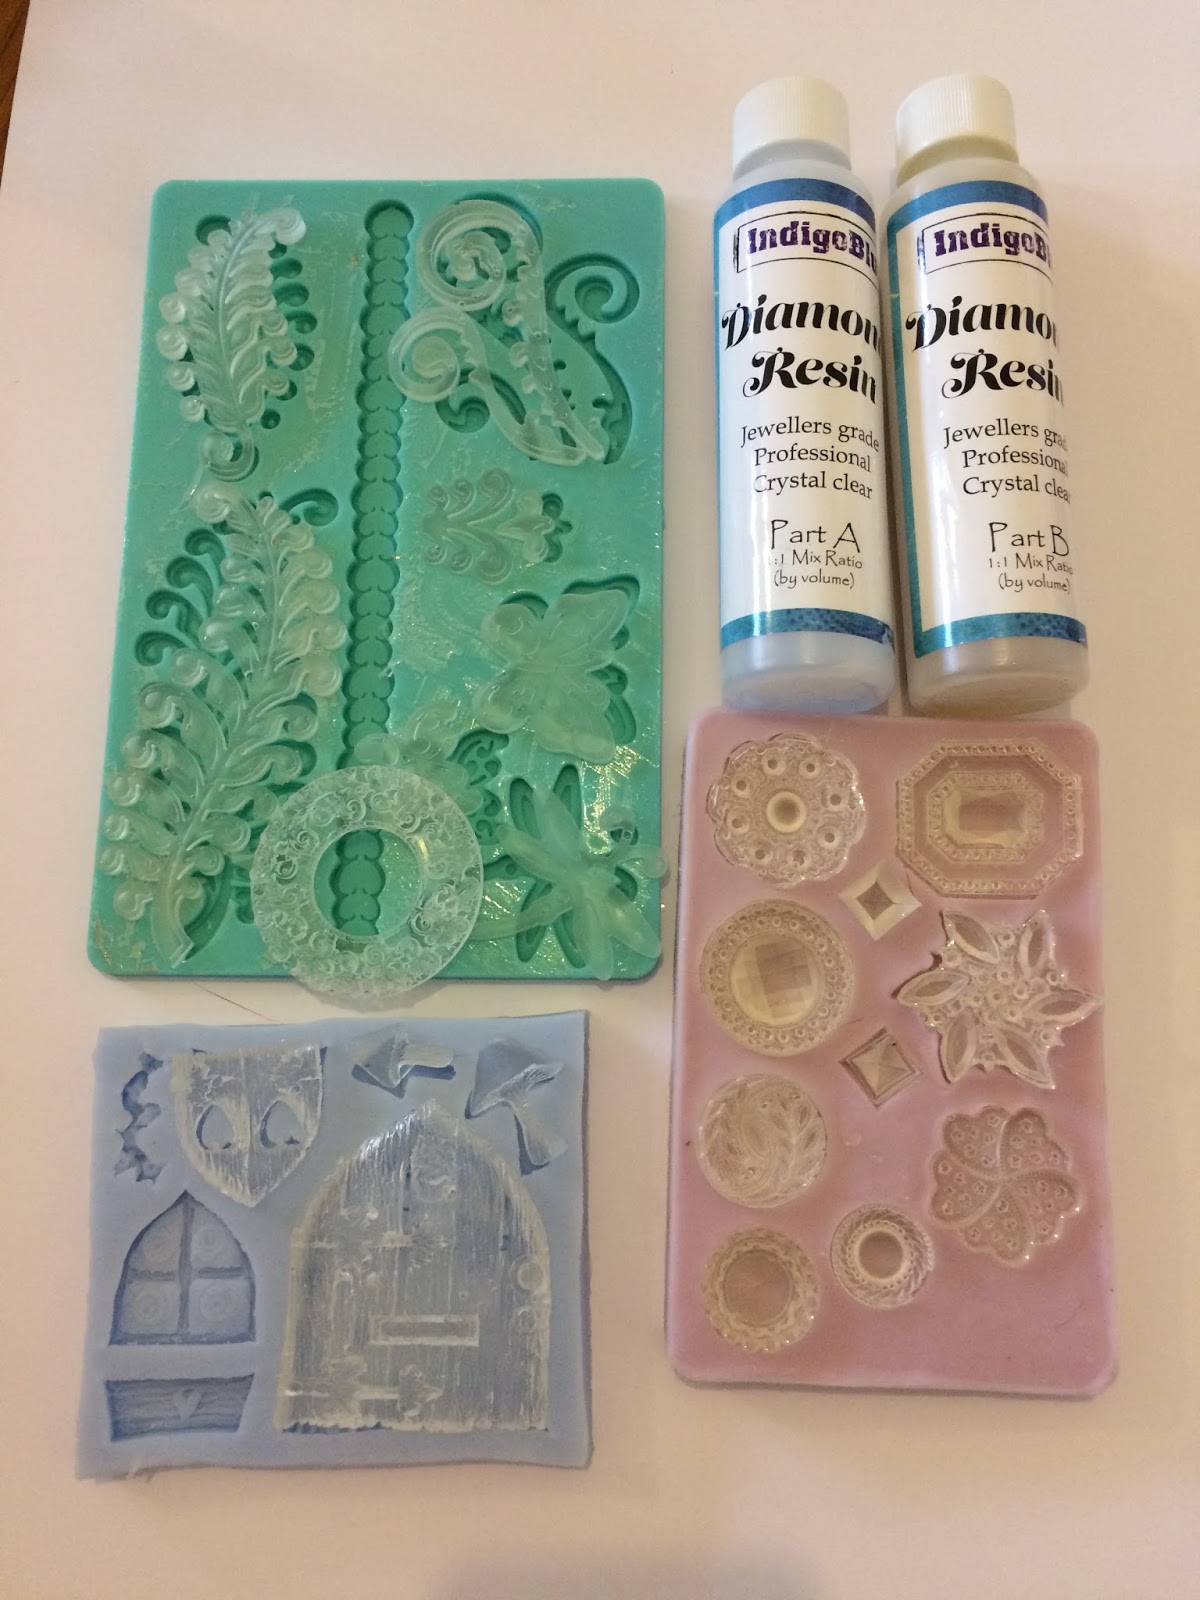
For this project I used the IndigoBlu Diamond resin with moulds as I found that the resin after a day of setting is still slightly flexible and be molded around  a curved surface. (Make sure you use a really good strong bonding glue to attach your piece to the glass otherwise it will straighten out. I used E6000).


Once all the pieces were glued in place I gave everything another coat of white Gee-Soo-Good then a coat of Aladdin Metallic Paint.

Once the paint was dry I then started adding colours to all the different molded parts using Paints and Luscious Powders

For the door I mixed up a thick paint using the Gold Luscious Powders

The details on the door were picked out using paints and Luscious Powders and I added small polystyrene balls to ground to look like s stone path. I also added a few words to the jar using the Believe stencil and embossing paste. Once these were dry I painted them in Aladdin Paint then once dry highlighted them in white and rubbed some silver and gold Luscious powders over the top.

The inside of the Jar was given a paint treatment, this time using Black Gee-Soo-Good and Raven Metallic Paint.

The top of the jar is decorated with a round Resin Frame and in the middle I placed a Resin Gem all painted with Luscious Powders. 

I added a couple of small embellishments to finish off the jar. I decided to add a pen to the jar so there was always one to hand. I took the pen apart and added a piece of paper I painted with Luscious colours to match the jar.
The first three tags I am going to add to the jar are photos taken on our trip to NZ.

I hope you have enjoyed reading about my latest creation, I now have a different idea for one for my daughter who loves to travel. Once I have finished it I will share the idea with you.
So thats all from me today. If you continue scrolling down, there are a few detailed photos of my jar.
Thanks for looking, take care and Happy Crafting xx

Don't forget to check out IndigoBlu's online Shop