Saturday, 13 June 2015

Making your own Presents- Altered Box

Hello Everyone, today I have a something a bit different to share with you.
 I call it my 'My Writing Box'. 


A little while ago I purchased a couple of boxes that I thought I could 'Alter'.


I started off by painting the box with white gesso then attached ribbon to the inside of the lid and box to make a 'stay' so that the lid could be left open. I then covered the outside of the box with patterned paper as well as the inside and outside of the box lid.
I used a die to cut out the white flourish for the lid of the box and some leaves, then went on to make some rolled paper roses.
Pearls were added to the inset part of the lid.


On the bottom of the box I added large wooden beads, painted white for feet and brass corner pieces to finish the outside of the box off!
The inside of the box was sectioned off to keep different types of stationary in place!
I filled theses sections with a selection of handmade greetings cards, pens with matching inserts to the paper used to decorate the box, as well as a covered sticky note's pad!

Thank you for stopping by today. Hope to see you here again soon,
Happy Crafting, Sue xx


Monday, 8 June 2015

Circle Magic Slider Card


Here is a short video showing how the card works!
More photos and info below xx

Circle Magic Slider Card

Hello there, thanks for stopping by. Its beautiful day here in Gloucestershire, the sun is shining and we have picture postcard clouds in the sky!
Today I have a Magic Slider Card to share with you. Children really love these types of cards, but I think they are pretty clever too.
I made this card as a Swap for the Challenge Swap Group I run on Face Book. Most of the ones I have seen tend to be rectangle so I decided to have a go at a different shape. 


Being a circle brought up lots of different issues in making the card but I think I have managed to pull it off. I also mounted the Magic Slider onto a round card blank so that it is fee standing!
The Magic Slider card itself is made out of a 12"x 12" piece of Stampin Up Irresistibly Yours specialty designer series paper which I coloured using two different inks. The stamped image is again from SU a set called "Moon Lake."For this style of card you need to stamp the image onto white card as well as Acetate and colour-in the image on the white card.
The butterflies stamps were coloured using marker pens then stamped onto white card and punched out! A couple of gems were added to highlight the bodies! I also made the fern flourish with a mold and crafters clay.


Thanks for stopping by, please visit again soon.
Happy Crafting xx


Thursday, 4 June 2015

Pocket full of Posies - IndigoBlu Blog Challenge

Good Morning / Afternoon,
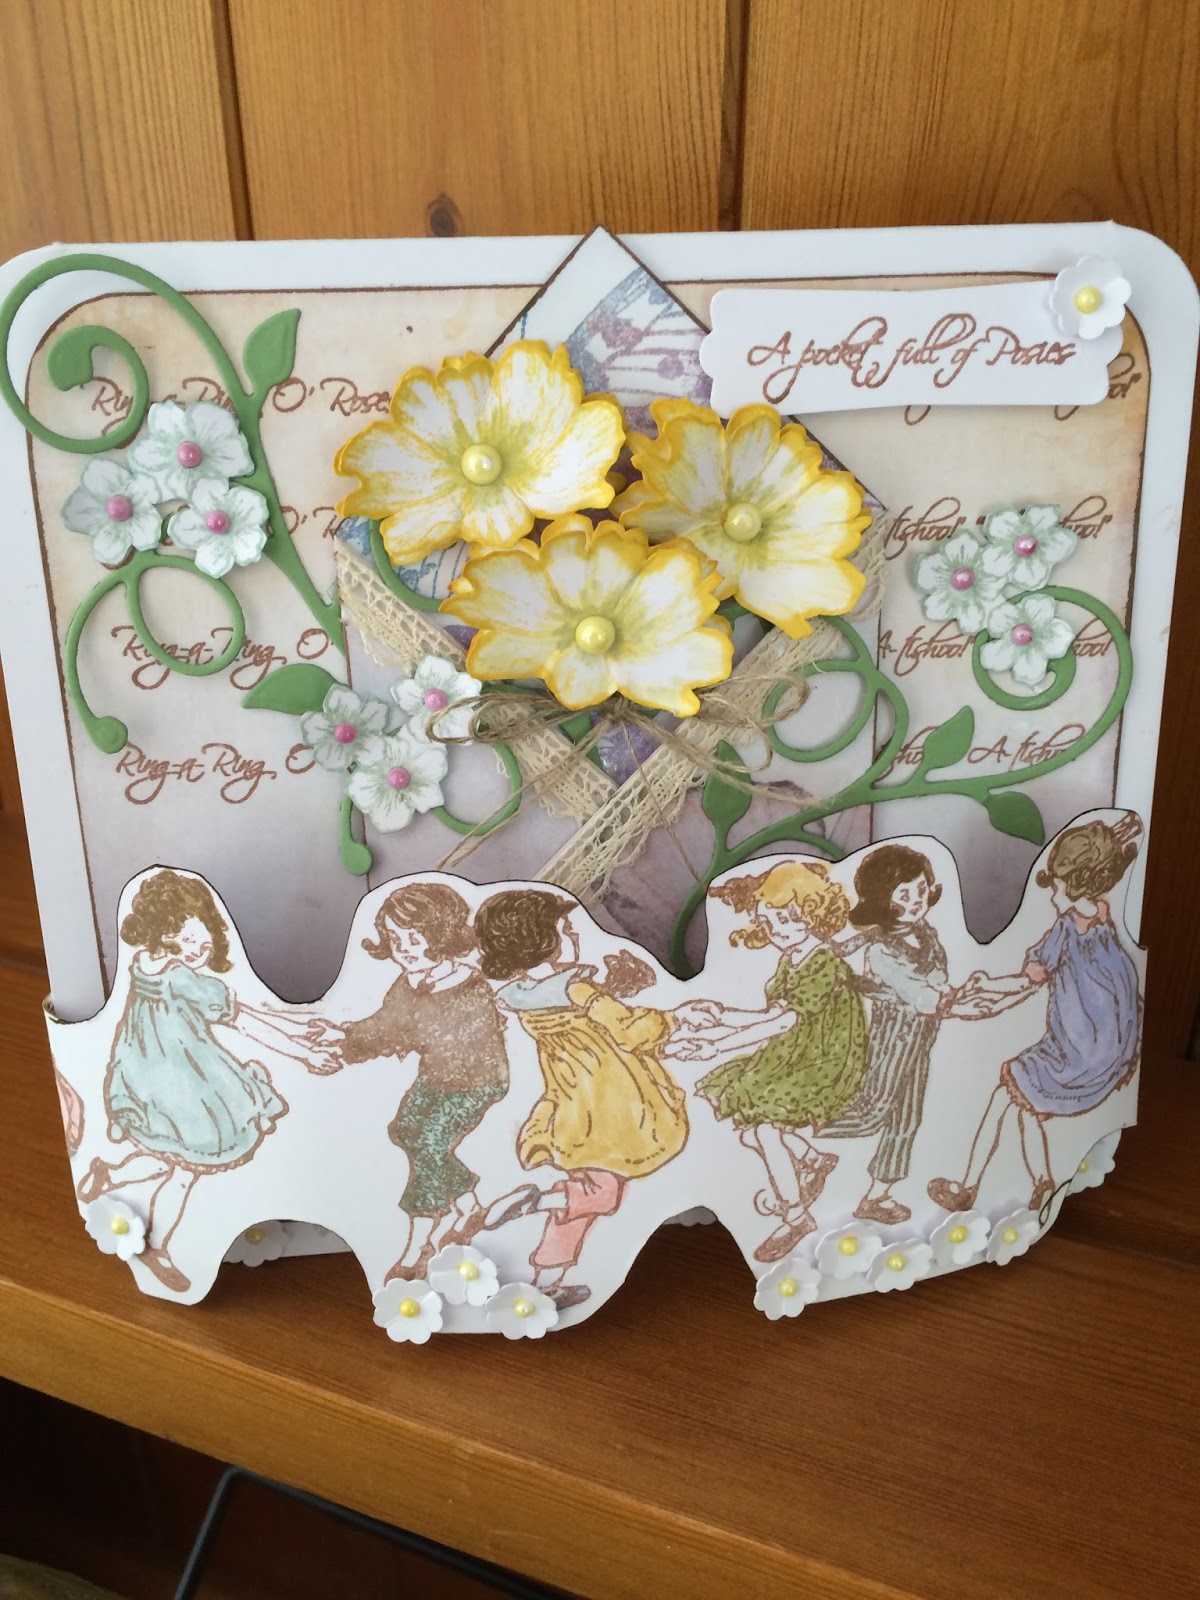
Do you remember the Nursery song 'Ring a ring of Roses, a Pocket full of Posies'?
Well I decided to use this as the inspiration for my entry into the IndigoBlu Challenge this month! Why not take a look at the other entries and have a go yourself!


To start with, I chose a couple of pieces of backing paper from the New Mixed Media Paper 6x6 pad collection Flights of Fancy, 


I stamped the nursery rhyme lyrics onto this piece from the Vintage Nursery Rhymes Stamp Set and rounded the corners off then attached it ti a card blank. I then went ahead and cut diagonally along another piece to make a 'Pocket' for the Posy to sit in. I used the Flutterby Dinkie to decorate the inside of the pocket.


Ribbon was then added to highlight the folded paper pocket and attached to the center of the card. I used the stamp sets, Dancing Children and 'Live Laugh Love' and the small flowers off the Giant Peony Stamp for the main focus of the card along with some die cut leaves, tiny punched out flowers, pearls that I coloured in to suit the tone of the card and some Linen Thread to tie the 'Posy' together.
Once I had coloured in the Dancing Children I cut around the image and to add a bit more dimension to the card, I attached the image either side of the card to give it a slightly domed look! (The card fits inside a gusset type envelope. When I send it out I will put a piece of bubble wrap under the dancing children to stop it from getting flat)


I now have the nursery rhyme floating around in my head! 
Bye for now,

& Happy Crafting, 
Sue xx