I really love using IndigoBlu products and have decided it was time to take part in their monthly challenges!
So............., here is what I decided to make for the "Christmas in July" challenge!

Items you will need to make one yourself!
Wooden Heart
White Gesso
IndigoBlu English Cottage Acrylic Paint-(postbox red, grandma's teacup, park lane)!
Large flat head paintbrush, small head paintbrush
Stamp Sets
Green Ink pads! I used Green StaZon, Stampin Up Old Olive & coloured the veins in with Gumball Green marker pen
Black StaZon
Scissors
Pinflair glue gel
White Card
Clear Acetate
Crystal Effects
Ball Tool and Soft Mat
FlitterGlu & Scoochy Sponge
Mega-Flake -Sheffield steel
Ribbon, Pearls & Red Gems
What to do

Paint the front, back and sides! Leave to dry!

Paint the item in the shades of paints you have chosen! I roughly painted my heart in grandma's teacup, then filled in the gaps with park lane.
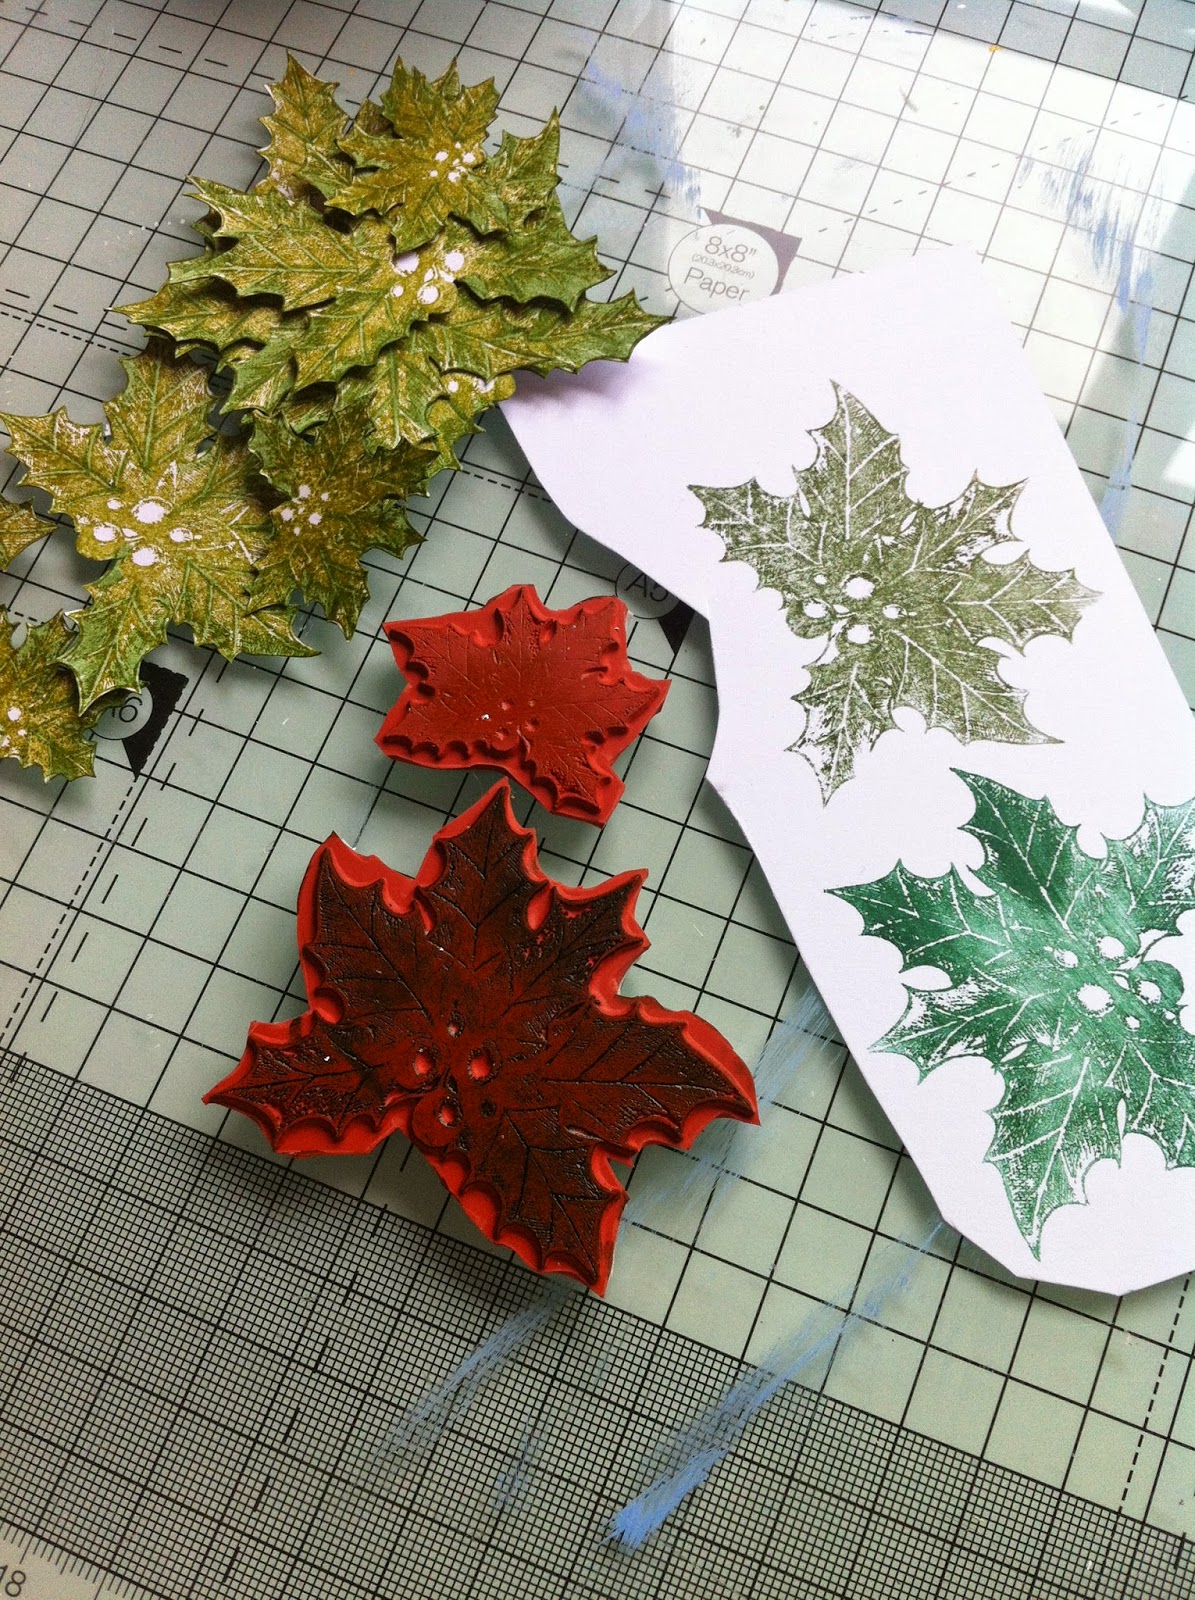
Stamp out 7 large Holly Leaves and 3 small leaves from the stamp set "Retro Christmas" with the green ink pads!
Colour in the white areas with the marker pens!
Cut out the Holly Leaves!

With the ball tool and Mat gently press and roll the ball tool over the leaves and mistletoe to give them a curved shape!


Once the crystal effects is dry add the red gems to the holly leaves and the pearls to the mistletoe!


Spread some FlitterGlu onto a piece of sponge and use the sponge as an "Ink pad" to cover the stamp with the flitterGlu! Stamp your image several times on your wooden item!
(stamp set used "Here comes Santa")
Once you have added your glue, cover the images with the Mega-Flakes!
Gently rub all over the image and let the flakes cover the glue! Check all areas are covered! Rub off any flakes that are not needed!
Use the Schoochy sponge to take off any more of the flake and to help show up the image!

Turn the acetate piece over and paint the letters in postbox red using a small paintbrush!
Colour the leaves in with a green permanent marker!

Make up a small Red bow out of ribbon and thread another piece through the hold at the top of the heart as a hanger!

Glue the Mistletoe in place over the ribbon where it was threaded through the hole!
Glue the bow on top of the Mistletoe!

Glue the Holly leaves down one side of the heart then attach the acetate Christmas sentiment over the bottom part of the heart making it "Dome" a little! See photo below!
Glue two small holly leaves onto the acetate as well!
The Finished Item!

I really hope you like this project and give it a try for yourself!
Happy Crafting xx
Oh I love this!
ReplyDeleteThanks for entering the IndigoBlu Challenge
Clare
Hi Clare, thanks for stopping by xx
DeleteFab work, love the colours. Thank you for joining us at Indigoblu this month. xx
ReplyDeleteThanks for stopping by and taking a look Nikki xx
DeleteThis is fab .... so much detail. Thanks for joining in with the IndigoBlu Challenge .... good luck! Linda xx
ReplyDeleteThank you Linda! Onto the next challenge now! xx
DeleteThat is BEAUTIFUL! Thank you for joining us at IndigoBlu. Jenny x
ReplyDeleteThanks so much Jenny xx
DeleteLove it :)
ReplyDeleteThanks for stopping by and checking this post out Liz x
Delete