Monday 15 April 2019

A little Mid Century Modern Card Making.


Hello there, so quite a few things have been happening over the last month which has kept me busy and I haven't had time to do any blogging so without further ado here is a quick tutorial for a card I created for the IndigoBlu show on 11th April on Hochanda.
Mike Deakin designed these stamp sets and I have to say that once I started using them I kept coming up with more and more ideas. 
If you would like to watch the shows yourself you should be able to watch them online for the next week. 11am Show & 3pm Show

I have called this my Delta Card 


Materials used
Mid Mod 1 & 2 Stamp Set
Matt Paints - Rouge, Grandma’s Teacup, Apricot Blush
FlitterGlu & Chariots of Fire Mega Flake, Scoochie
Phat Foam
Thin Tip Black Pen
White Stamping card, Black Card, Card Base
Post it notes, Ruler, Black Ink Pad
Method
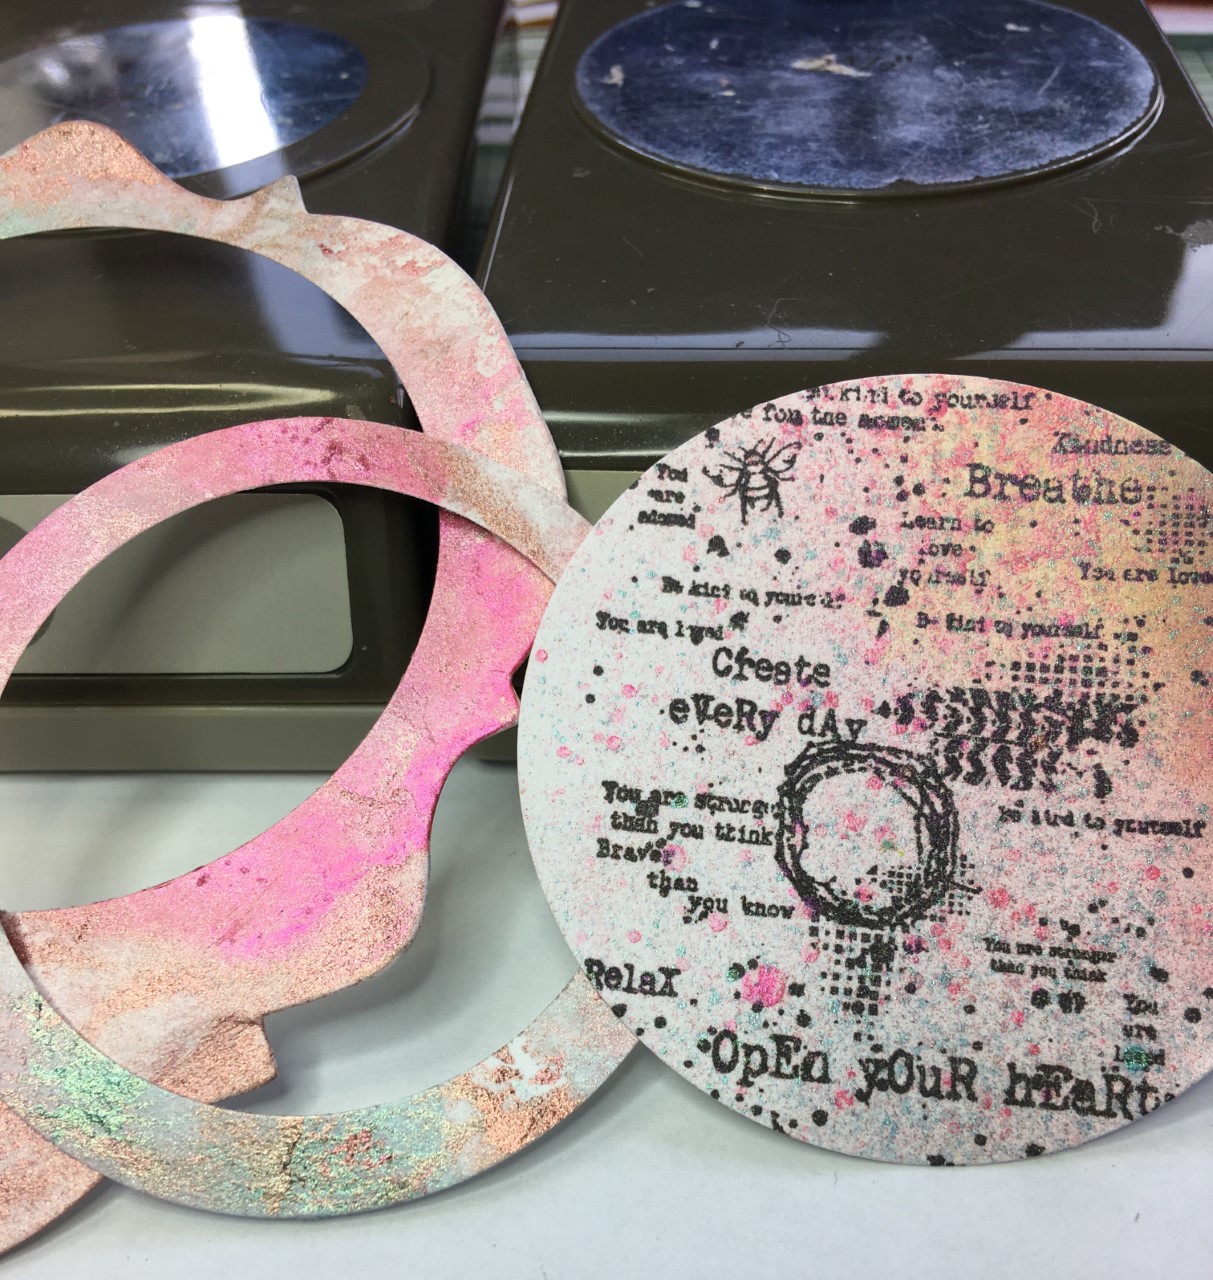
-For the front panel I cut out a 5” x 8” piece of white card
TIP-I stamped out the main shape from MM1 (the Delta or Arrowhead onto a stack of three post it notes), and cut them out so that I could make a rough template of where I wanted to place them. (This also helps when you are not sure what size panel of card you need).

-Make up a paint pad of each paint colour with a small piece of Phat Foam and spread a small amount of paint into the foam. Using one colour at a time, stamp out the Delta shape, one colour under the other leaving a small space between cleaning off the paint between colours. (Clean your stamp well, after you finish)!
-When the shapes are dry, use your ruler and black pen to draw a line to connect them all together. Draw a large dot on each end of the line.
-Using the MM2 stamp set, take the smaller circle and a black ink pad and stamp once over each of the coloured shapes.
-Going back to the MM1 set choose a sentiment and use a post it note to mask off a couple of the lines to enable you to stamp one line at a time onto sections of your card front.
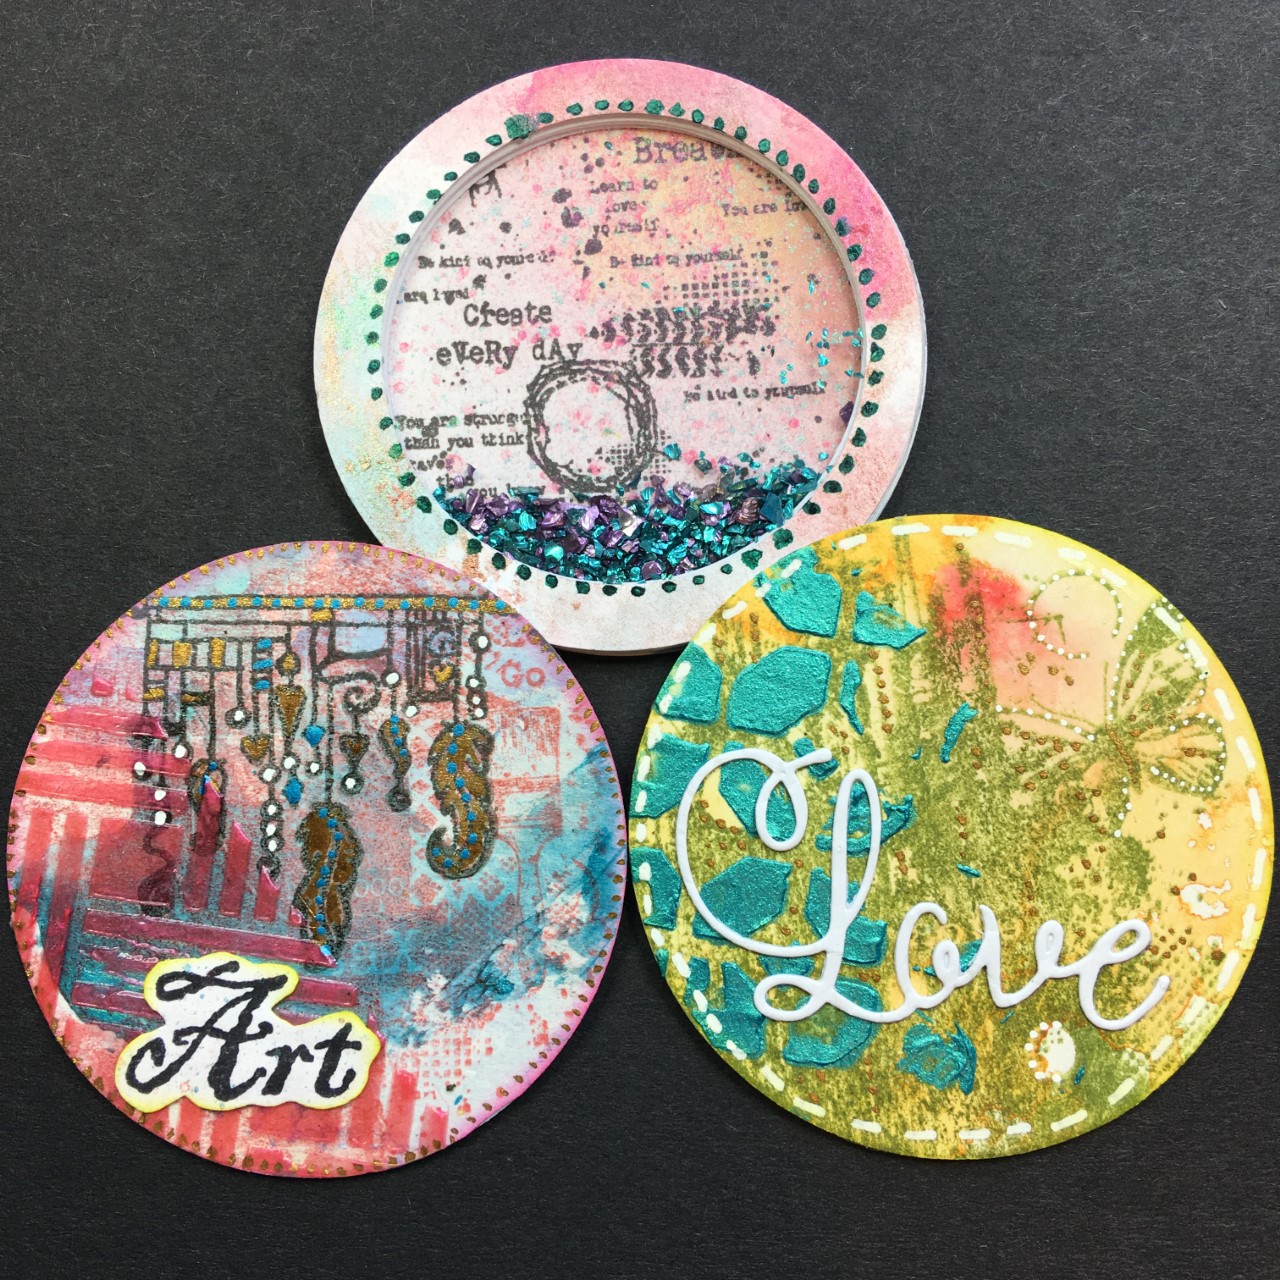
- Now make up a glue pad with the Flitterglu, just as you did with paint and stamp out some of the smaller Atomic Starburst shape. Leave these to become really tacky (no sigh of white glue) then cover the images with the Mega Flakes. Rub the flake into the images and rub away excess flake. Take the Scoochie and rub over the flaked images to define the shapes. 

Put any spare flakes back into the pot.
-Round the corners of the decorated panel then Mat onto black card and a card blank rounding these corner as well.
Eveything you need to create this card can be found on the IndigoBlu Website.

If you have any questions or help, please let me know. 

Happy Crafting, Sue  xx

Sunday 17 February 2019

Hello 2019 !

Hello there and Happy New Year to you! 
Yes I know, how bad am I as we are now in February! 
It's such a shame but I'm wondering if people still read blogs as much as they use to. Sometimes I'm adding something to the blog and I wonder how many people will read it and leave me a comment. I love to share my crafting goings on but without any interaction from readers I really do wonder if its worth it..............
Anyway I thought, give it another go and see what 2019 brings.

So I will start off this years blogging by sharing some Artist Trading Coins (ATCoins) I have created to help inspire members of the 'I Love IndigoBlu' Facebook group as we are going to start a new swap starting on the 20th February. So if you are already a member then why not join in. If you are not a member but are interested please come and join us!

The first step for making one of the coins into a shaker ATCoin is to decorate a piece of white watercolour card stock. For this I mixed up some of the new colours of  Luscious Powder (Peacock, Bulfinch & Quail) with some tepid water in little spray bottles, then lightly sprayed the card. I sprayed two colours then dried the card then went back in with another of the colours. 

 I used my stamping platform and black Tonic  nuvo Hybrid ink so that I would get a better stamped impression of the New IB stamp Open your Heart over the sprayed card stock.
 I then used a 2 1/2" punch (You can also use a Die or draw around a glass if needs be) to punch out the front of the coin.
I then punched out 5 more 2 1/2" card circles with a 2" aperture punched out from the middle creating boarders to layer together to use instead of foam tape. ( if you have any funky foam you could use that to create the depth needed for a shaker card). 
The Collectors Edition Stamp no 23 Artist Trading Coin was stamped and punched out to use as the base of the shaker.

 From another piece sprayed card I punched out a boarder (done as above using the 2 different size punches).

 A circle of acetate was glued onto one of the white boarder pieces and then the coloured boarder was glued on top to create a lid. The remaining white boarder pieces were glued and layered up.
 The stack of boarders were glued to the shaker base making sure glue hadn't seeped though and two of the NEW colours of the Textured Art Stones were added inside to create the shaker. (Glitter or small beads would be good for this as well). The Acetate top was then glued into place.


 To create the other two coins I used Distress Oxide inks to create a background of colour first on watercolour card. The first coin was then stamped in green ink using the Calm and Relax stamp and the Peacock Luscious powder was mixed up with some the Super Thick Slap it on then put through part of the Moroccan Tile Stencil
The last coin was stamped using the  Fandangle Feathers, and using the Basket Weave Stencil Bullfinch Luscious powder was mixed up in the Super Thick Slap it on to create extra texture.
Extra details were added to the coins and I got to use one of the New Jane Davenport Gold Pens I purchased from the IndigoBlu shop. 
I have to say I'm loving using all of the above craft items.
So there you have it. ATCoins and one of them being a Shaker Coin. Enjoy.
Thanks for checking this out.
Happy Crafting and Swapping,
Sue  xx