Hello Everyone,
I recently made some card samples for IndigoBlu using the New Stamp set 'Victorian Garden' and the New 'Junk and Disorderly' range of paint colours and did some stamping on one of the cards with paint on acetate. When I shared the card on FB I was asked if I had done a tutorial, so I have now put a photo one together.
This first card is the one I shared on FB and the square is the one I created for this tutorial.


The base of the card is 12" x 4", scored and folded at 4" & 8".
Fold the first panel over onto the second panel. Using a die cut an aperture out of this section of the card.
(If you don't have a die cutting machine you can still cut out a section by hand).

This is what the card base will look like after you have cut out the aperture.

Using the die again plus the next size up die, cut out a contrasting coloured frame to go around your aperture.

Attach the frame onto the center panel of the card base.

On the last panel of the card base lightly draw through the aperture to get the same size shape. This will help you to know where to stamp your images.
Also cut out a piece of 4" x 4" acetate. Place this in-between the two panels that have the aperture cut out and mark where the bottom of the shape comes to. Again this will help you know where to stamp.

The colours I choose to use on the card are from IndigoBlu. Hunter Green, Ruby Slipper, Coastal Walk & Lemon Meringue,
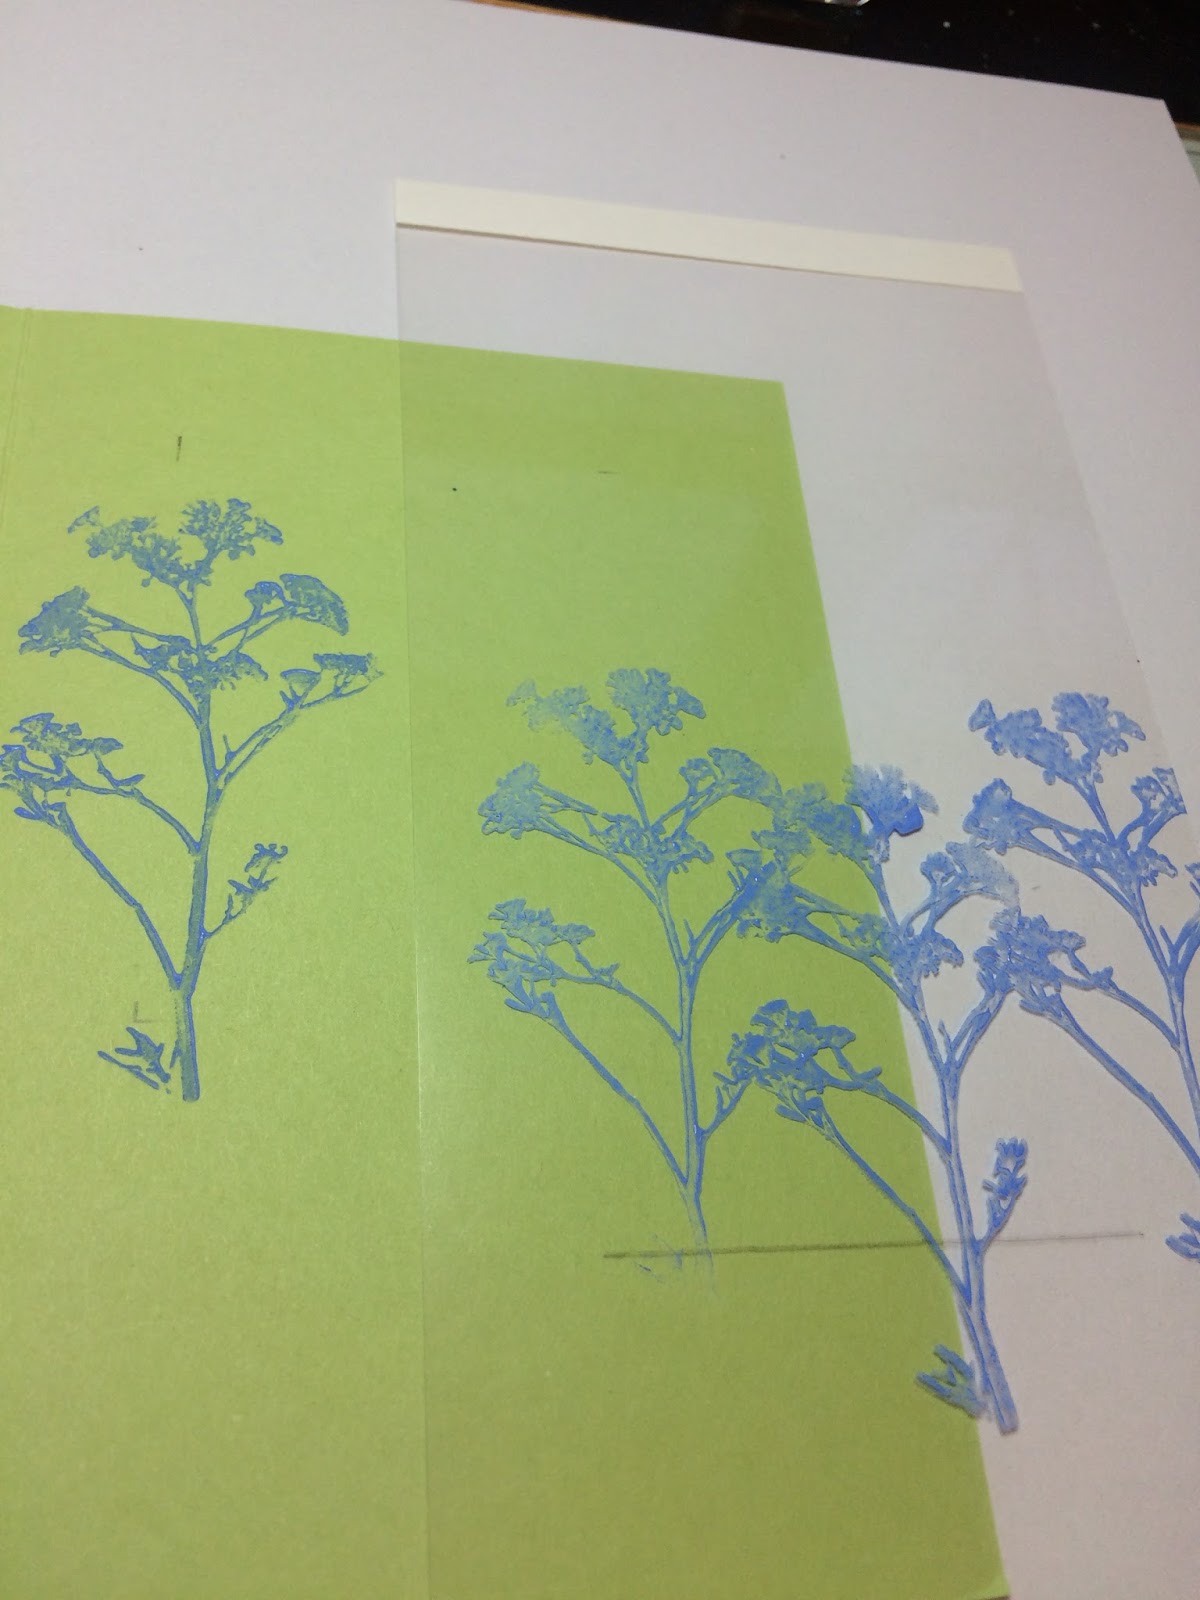
Stamp your biggest image onto the acetate first, slightly over to the right so that the image you stamp on the card panel shows through.
Tip- when you are using paint on acetate be careful as the stamp can slip on the surface.

When stamping with paint I brush some onto my glass mat then take the stamp to it. If you stamp the image several times just brush over the paint every couple of stamps to keep getting a crisp image.
Tip. Remember to clean your stamps straight away by either putting them in water or washing under the tap. Don't let the paint dry on your stamps.

Build up your images, leaving time between colours to dry.

Once the paint is dry, use double side tape to attach the acetate to the card base and a little extra down the sides to stick the card pieces together.


I added small dots of red paint to the stamped images using a scoring tool.

Stamp the bee image onto velum and colour in. I used blue Luscious powders mixed with a little water for the wings and Lemon Meringue paint for the body. When dry cut out the bee's.


I then stamped one of the sentiments onto the front of the card.

The last step was to attach the bee's. As I used a wet glue the velum started to curl so I placed an acrylic stamp block over the top of them until dry.

The last few photos are some close up's of the card

I hope you have enjoyed this tutorial. Would love to know what you think.
Happy Card Making, Sue xx
Thank you for doing a tutorial Sue. Love both cards and thought at first the flowers matched the Wildflower Dies I already have.
ReplyDeleteEnjoy doing your sample cards for Indigo Blu, they are gorgeous to see.
Christine xx